Steve Gold of APS Shows how He Prepares His GPR for Racing.

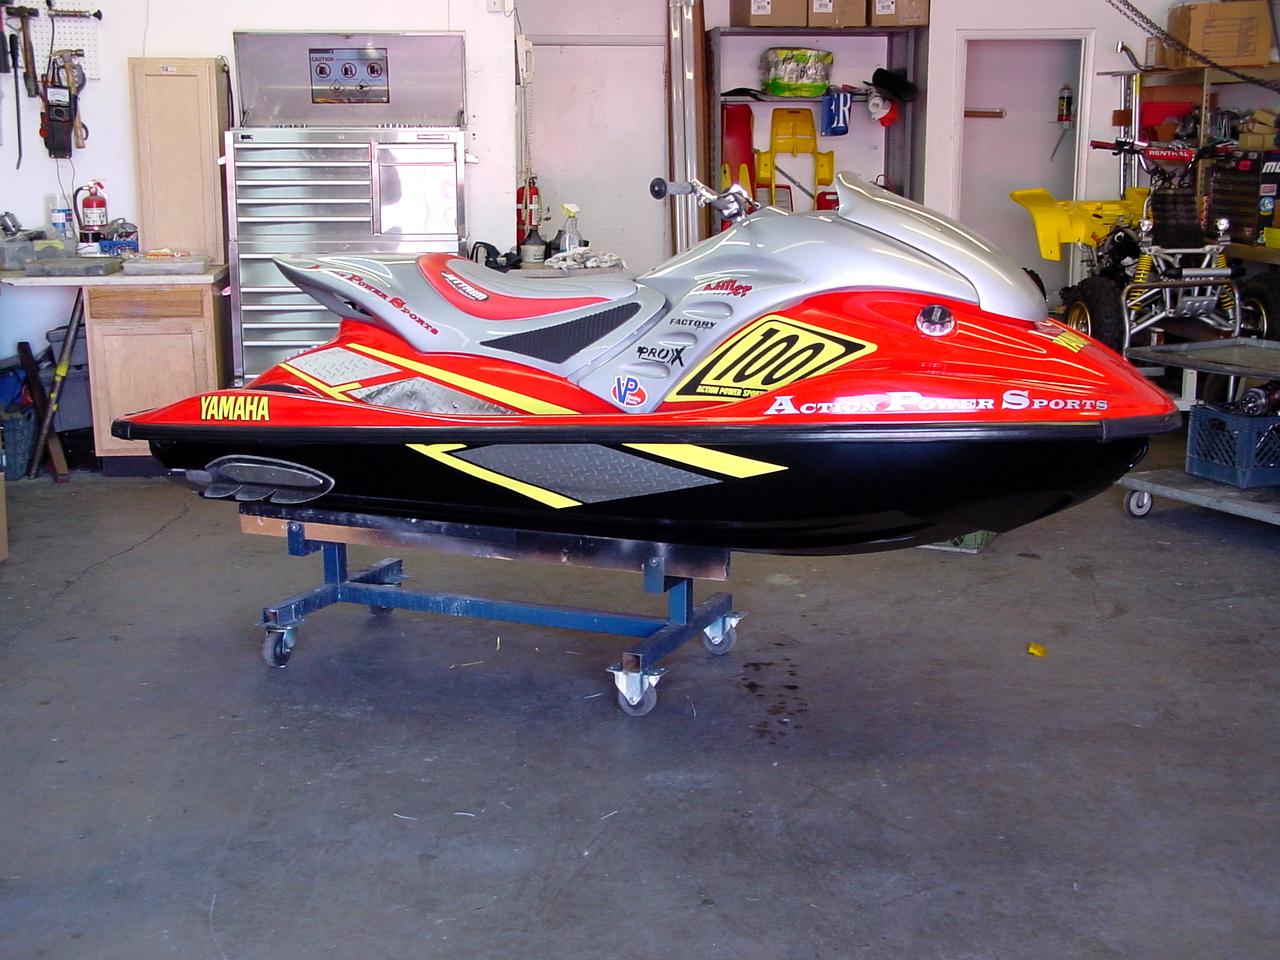
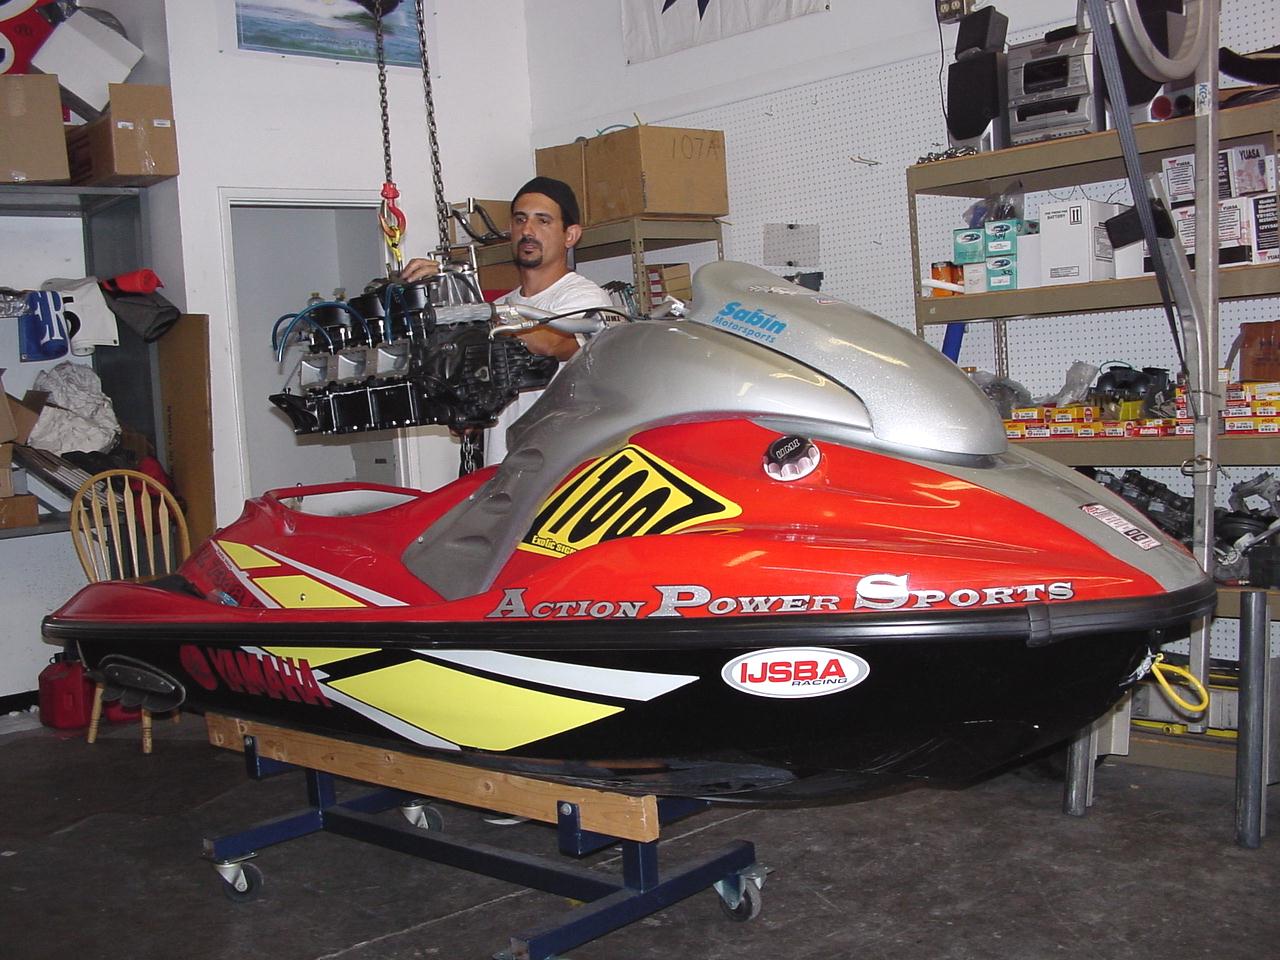
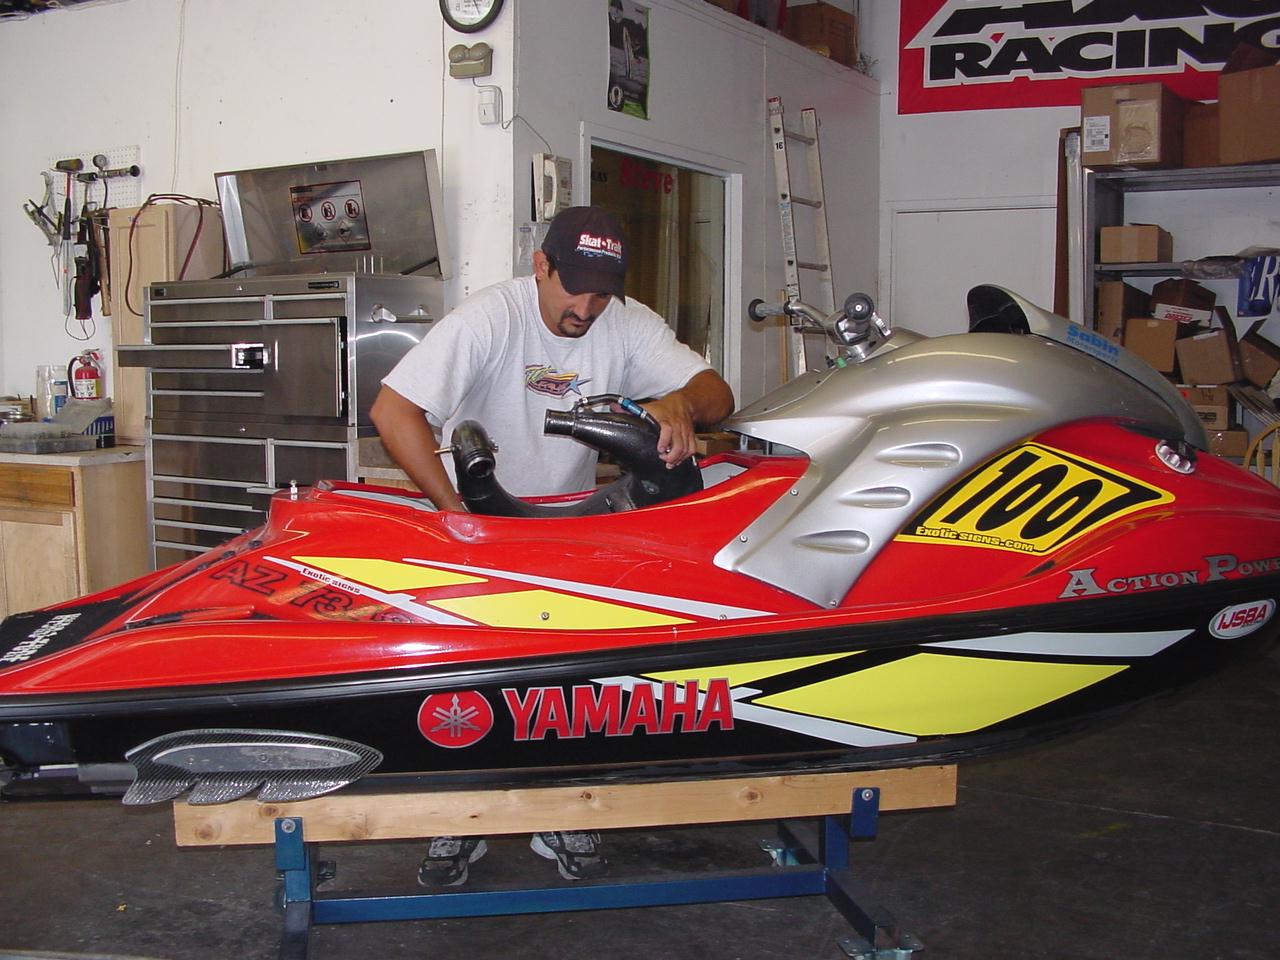
YAMAHA GPR 1200 Super Stock


2001 Yamaha GPR 1200 Super Stock

To prepare for the Upcoming Season I decided
to give the GPR a thorough going over.

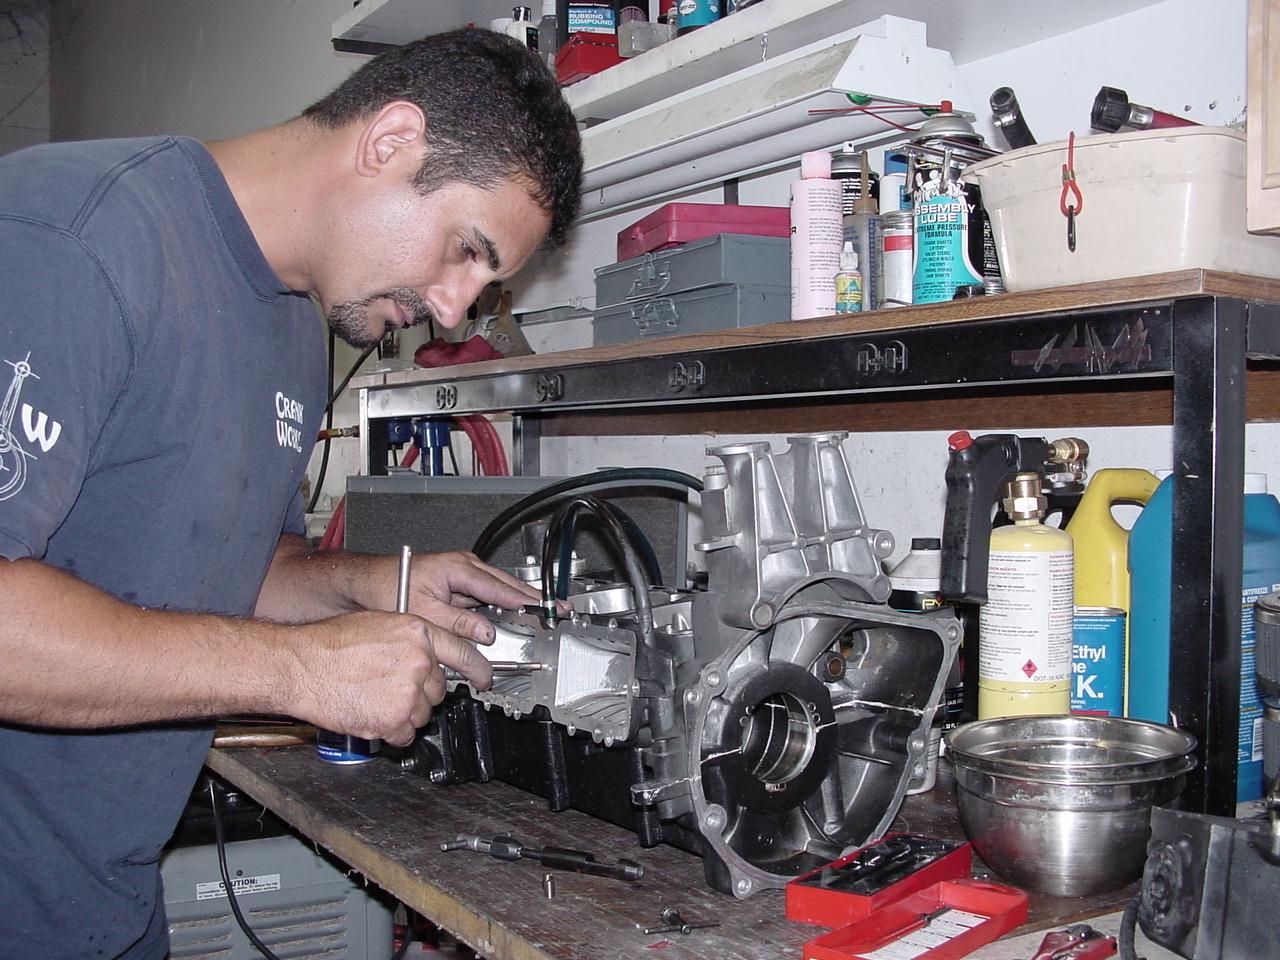
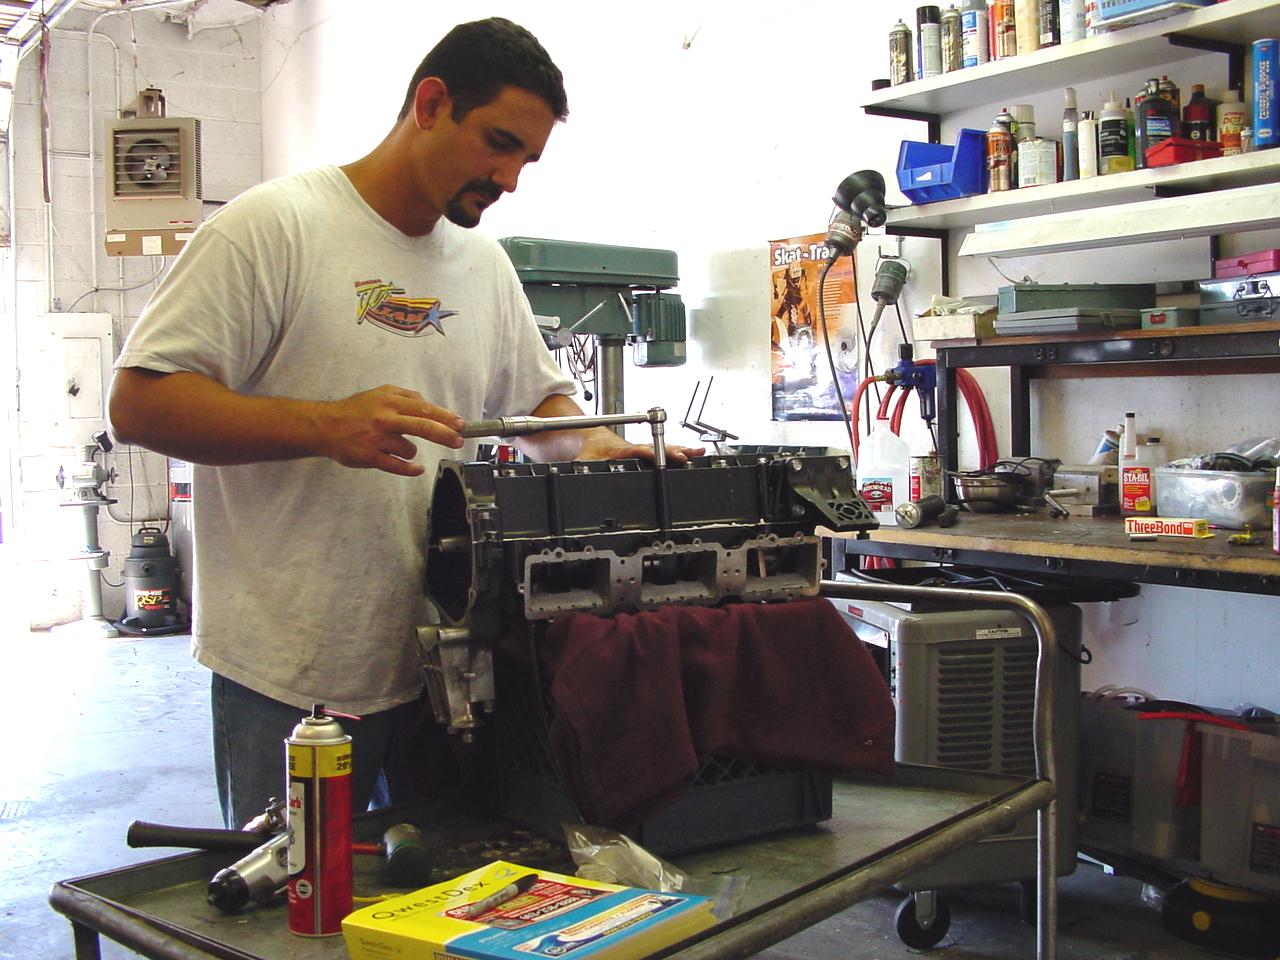
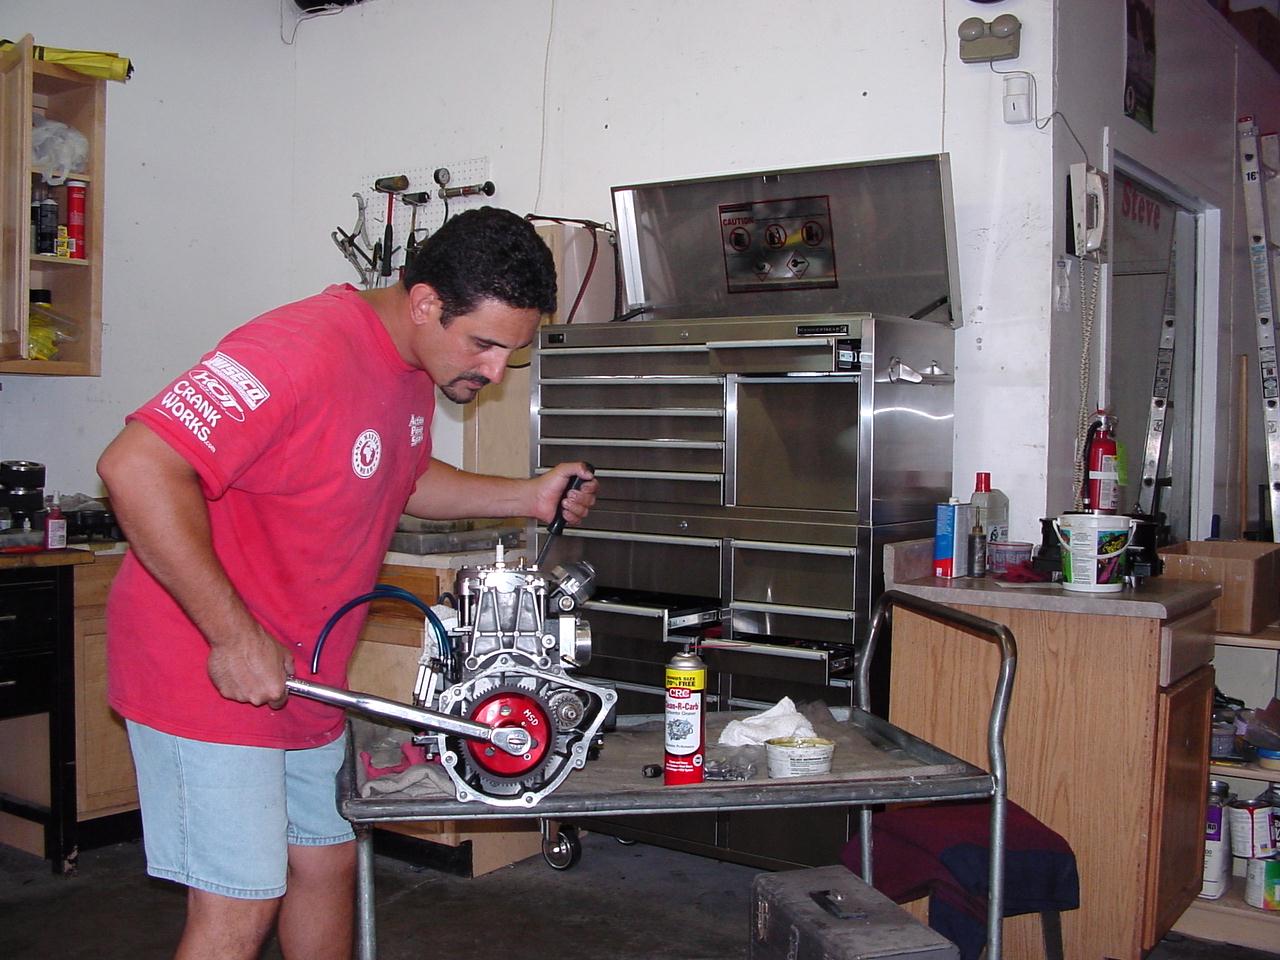
First the motor is removed and a complete tear 
down and cleaning is done on the Engine.

Tapping and Heli-Coil fresh Stainless threads
into the case assembly & intake mounting surface were done .


Getting the Crankshaft To Phil @ Crank Works was next where a complete rebuild was done using New Yamaha OE 1200 Rods with SKF Bearings over the O.E. Koyo brand that were on the crankshaft, 

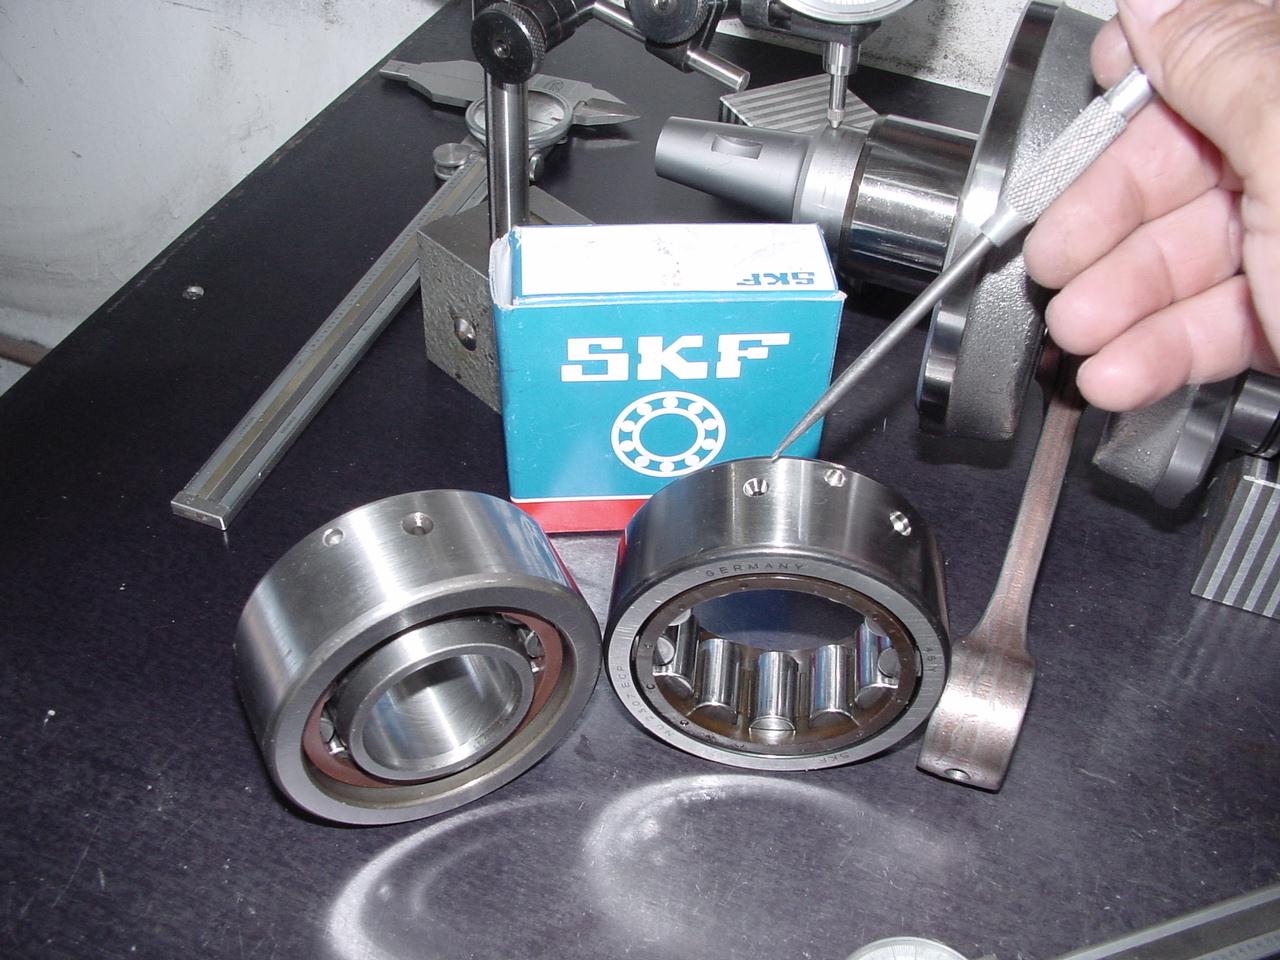
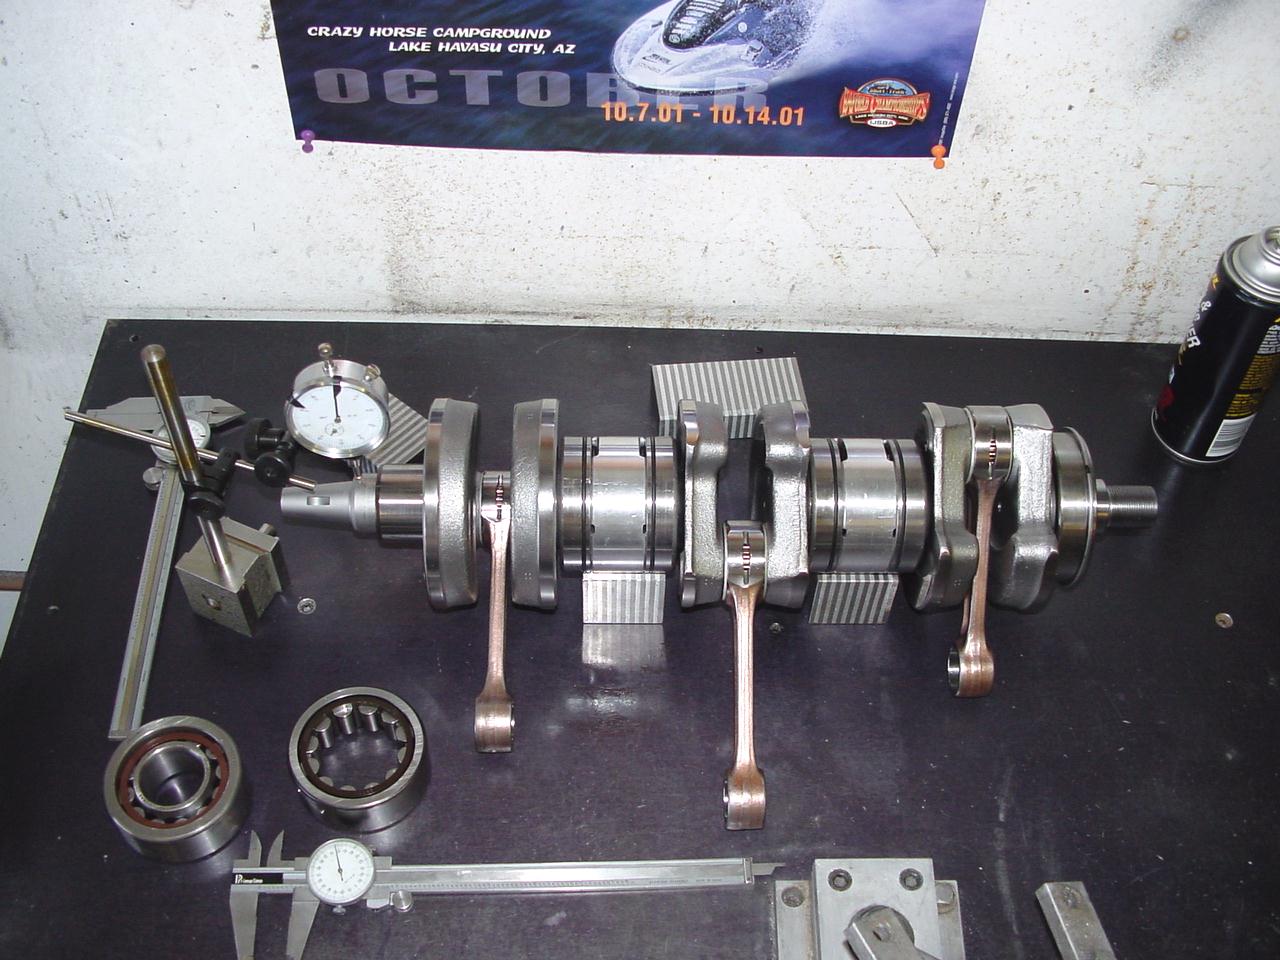
I have seen the MAG side bearing failure on several GPR motors so for additional Lubrication Phil added a second oiling hole that was machined into the SKF front bearing and matched to weep hole in the upper case half. 

Then the crankshaft is trued up & rod pins welded.


Prior to installing the Crank and re-assembling the bottom end a quick check on how true it was.

Less then 0.001 of Deflection is a Beautiful Thing


Next the Crankcases are cleaned again and prepped for assembly, New O.E. crank seals are installed with a thin bead of Three-Bond 1211 sealant around the case halves, a small dab of Stud & Bearing Loc is applied to each of the main bearings and PJ1 assembly lube is lightly applied to the Connecting Rod bearings then Crank Cases are torqued to factory specs.


Prepping the Cylinders was next Using Kawasaki 82.25mm PRO-X Pistons.


The cylinders were honed out using a Sunnen precision Hone to achieve exact clearance on each of the cylinders. Then I chamfered the ports and washed them up for assembly.


Then the Cylinders / Power Valve Assemblies & Heads were installed with New O-Rings, Gaskets and a light coat of Assembly Lube and Torque to OE Specs. With the Starter Drive installed the Coupler and Flywheel are also Torqued down .

 
Before final assembly of the front cover I re-checked the pick up trigger clearance using a dab of clay and MSD trigger shims to set the gap between 0.070 & 0.080 clearance. 

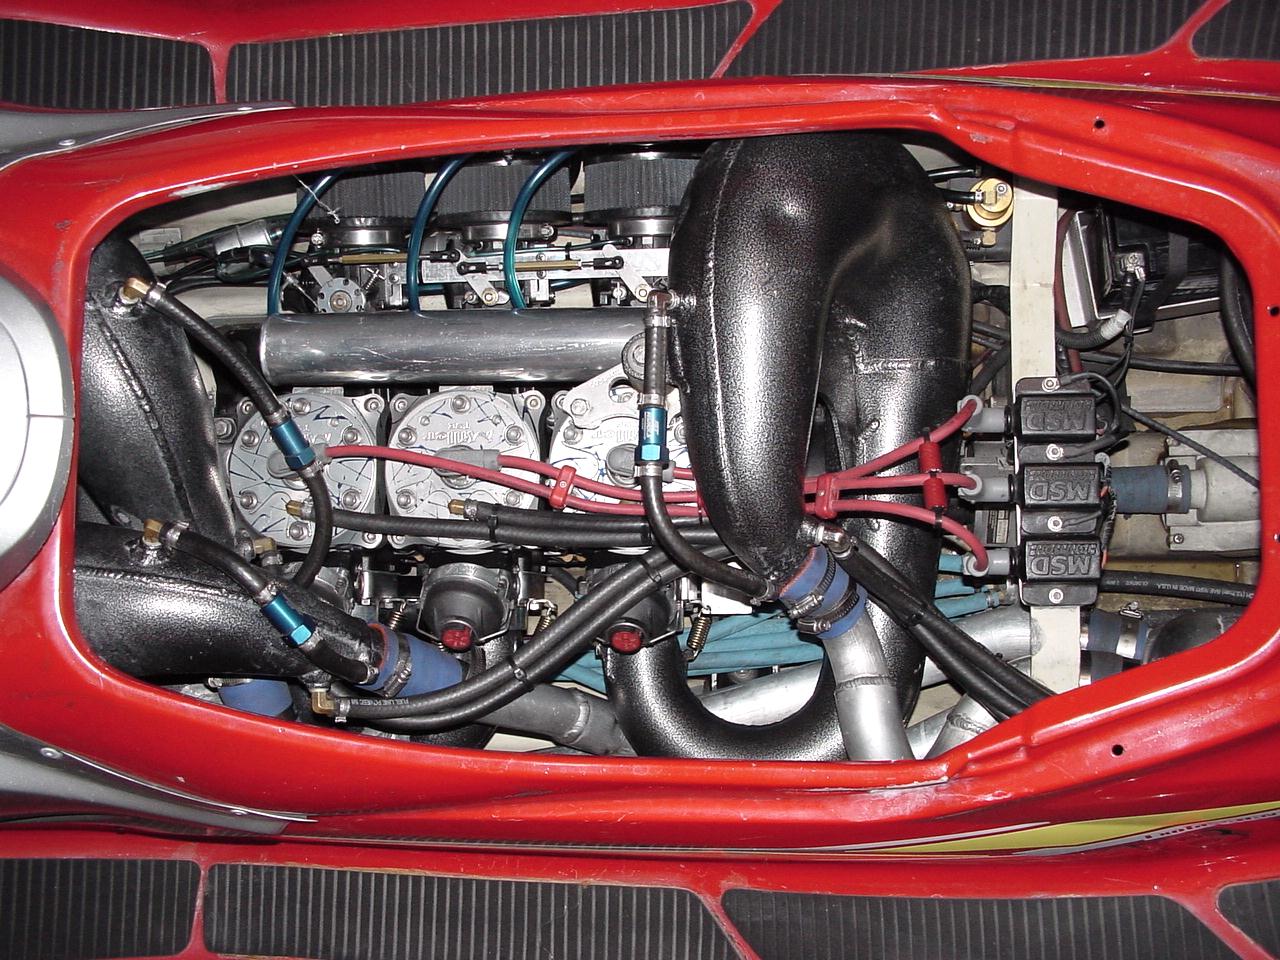
Black RTV Silicone and small tie-downs work excellent to insure that the wiring behind the flywheel stays in place during operation. 

After everything is set in place the front cover O-ring is installed and torqued down .


The NOVI 48MM Carbs were gone over too, complete tear down & cleaning with fresh Diaphragms, 
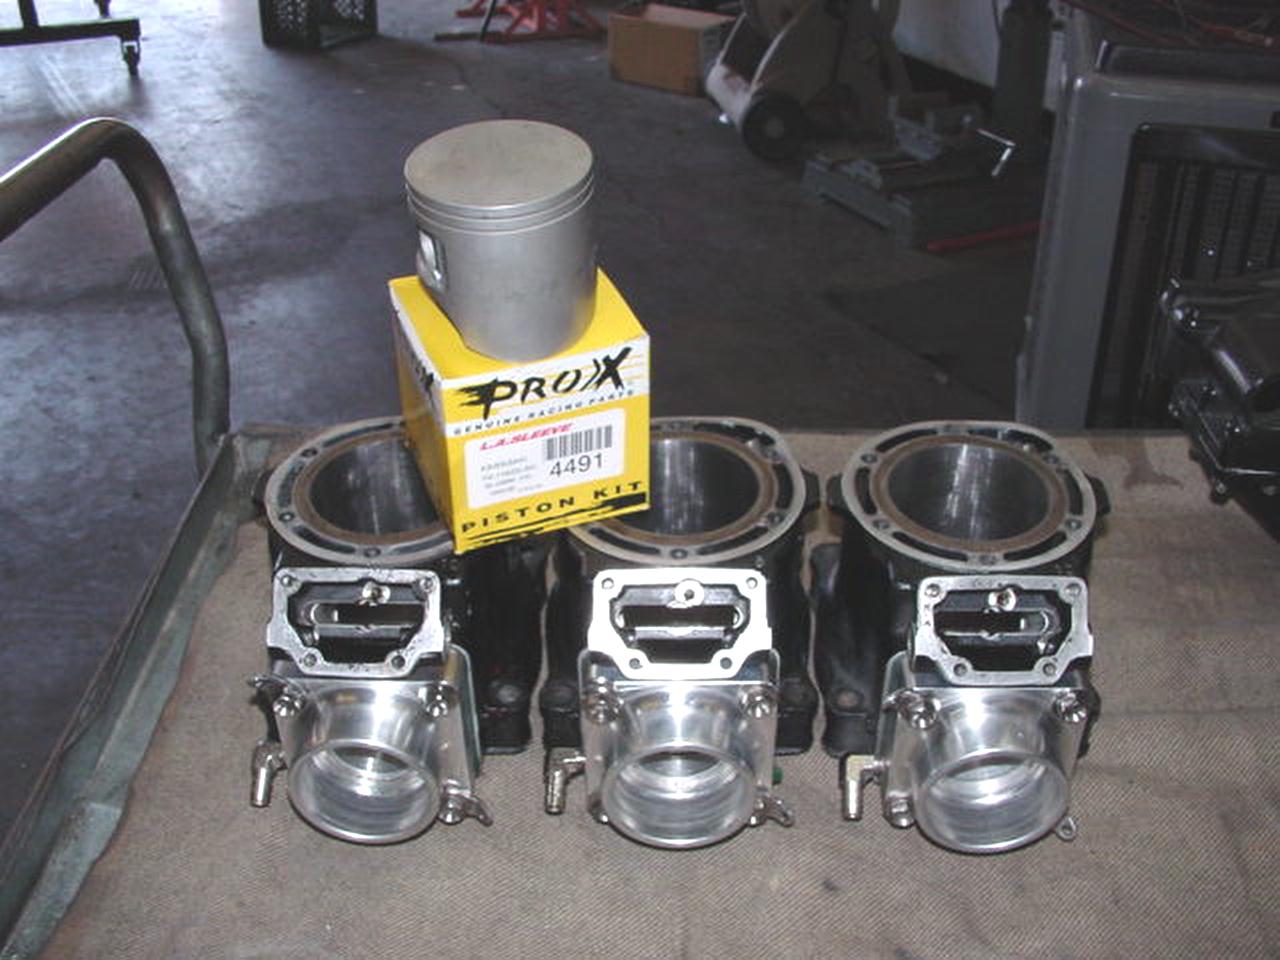
Needle Valve Assemblies, Needle O-rings & Gaskets. 

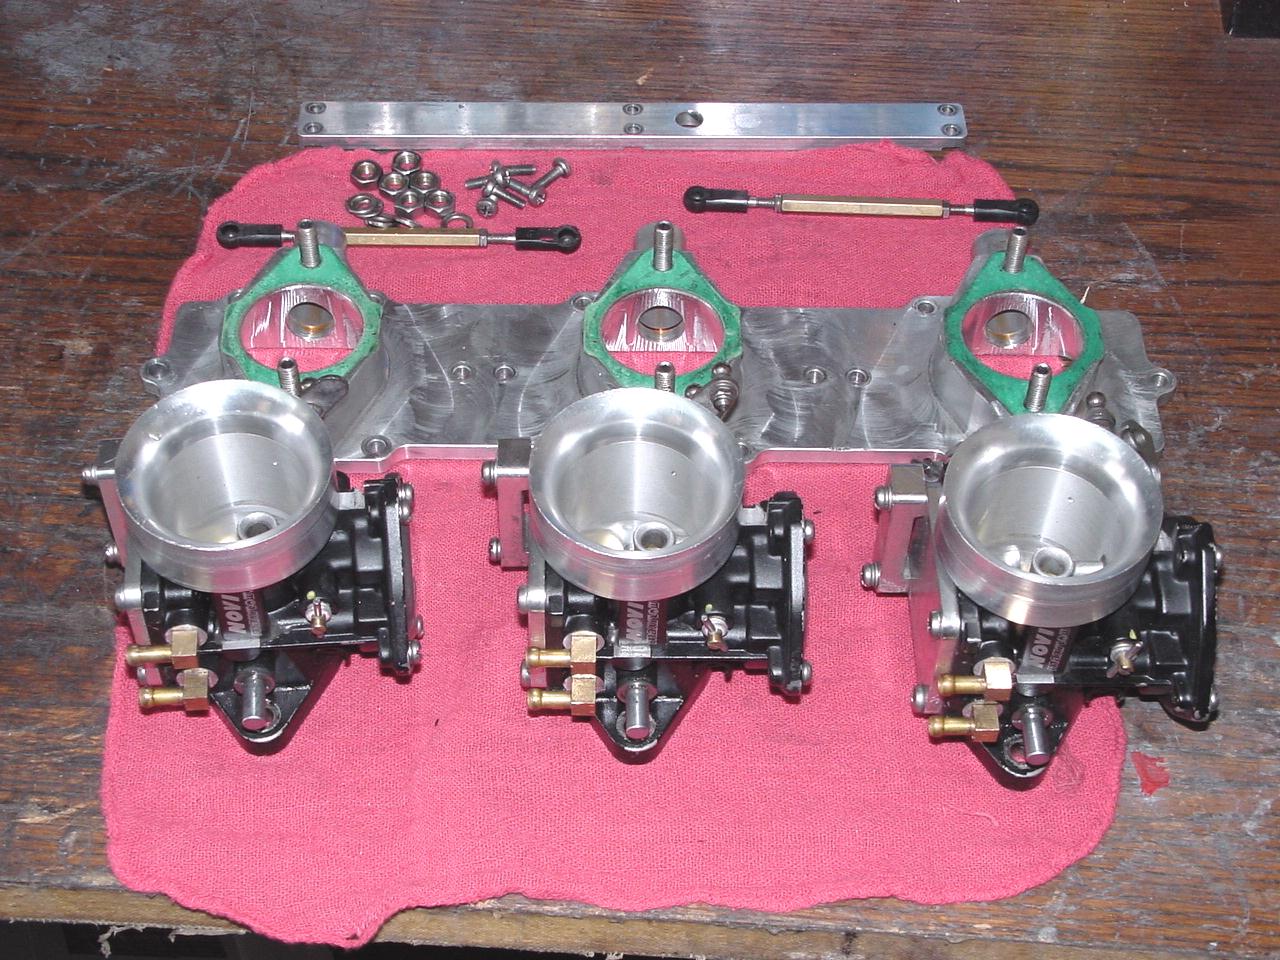
Then the Pop-Off Pressure is Matched for each Carburetor.
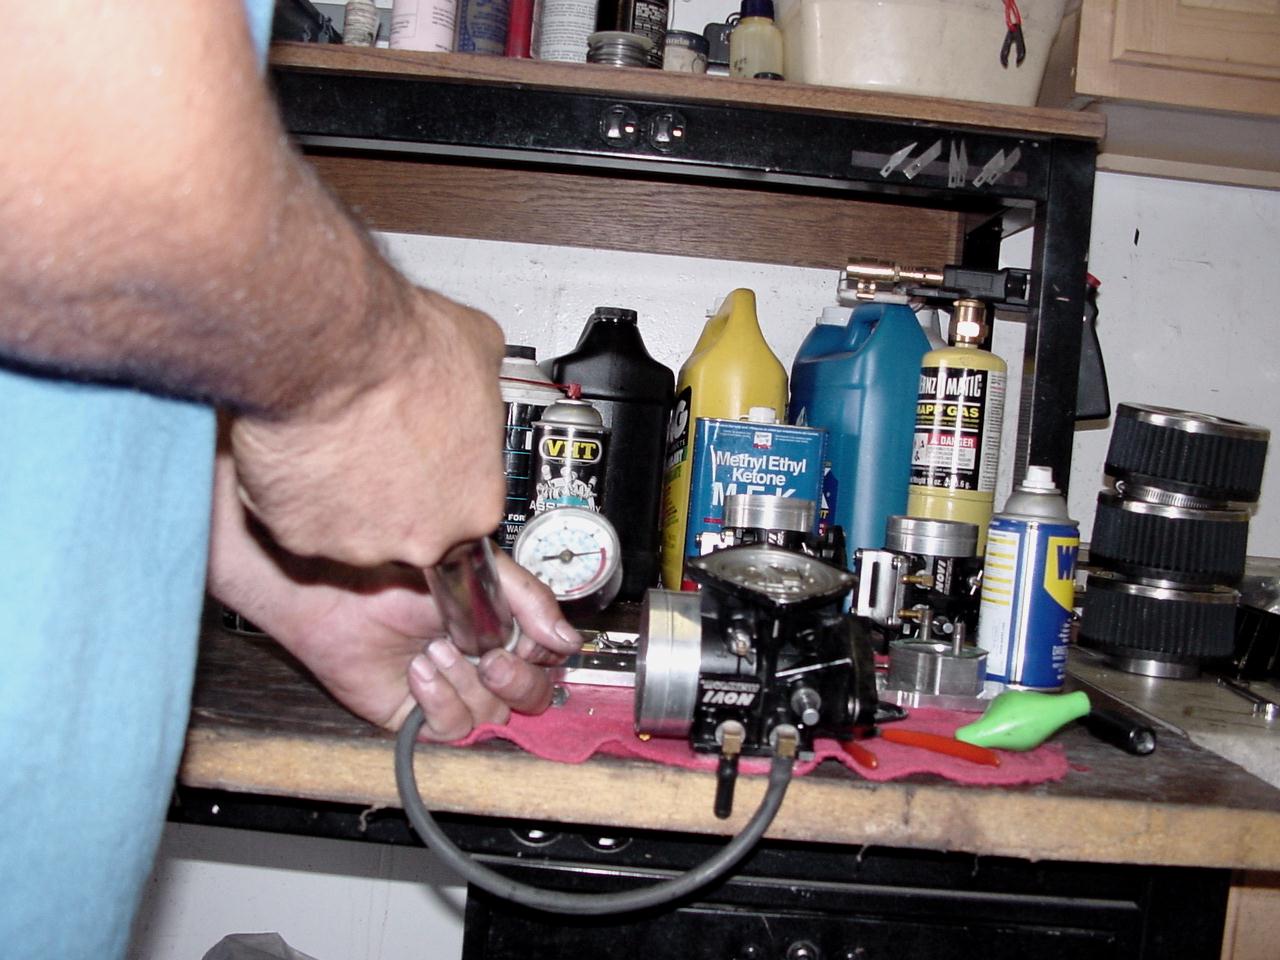
 
After Inspection of the Reed Cages I decided to Replace the Pedals using replacement Reeds from Lillian @ Rius Racing


Fresh Fuel & Water Lines were installed then the Engine is placed into the hull and shimmed for Drive Line Alignment, The Coupler Shaft had recently had new bearings so that step was skipped. The Terminal ends on the battery cables were replaced and New Ground Wires to the MSD Coils were put in.


The Triple pipes were installed with new O-Rings / Lord Mounts / Clamps & H-D Springs


Setting up the Magnum E+ Setback Pump was next with Fresh OE Bearings and Seals and a Re-Pitched Prop from Dave @ IMPROS the Preparation of the GPR was near complete


Finally Done ! As you can see very Sano in here.


Once the Re-Assembly was done some minor adjustments to the BULLETT HANDLING PACKAGE & Steering system were done and a trip to the lake for some testing and dialing...... AHHH Can't wait for the Season to start.

480-632-5565

E-Mail

APS MAIN WEB PAGE
Back to the GPR Page
Back to the tuners Page