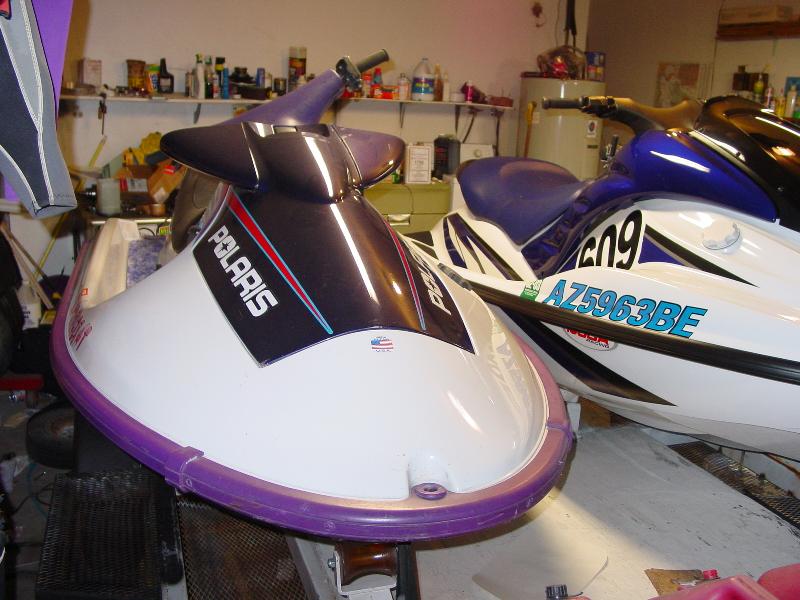
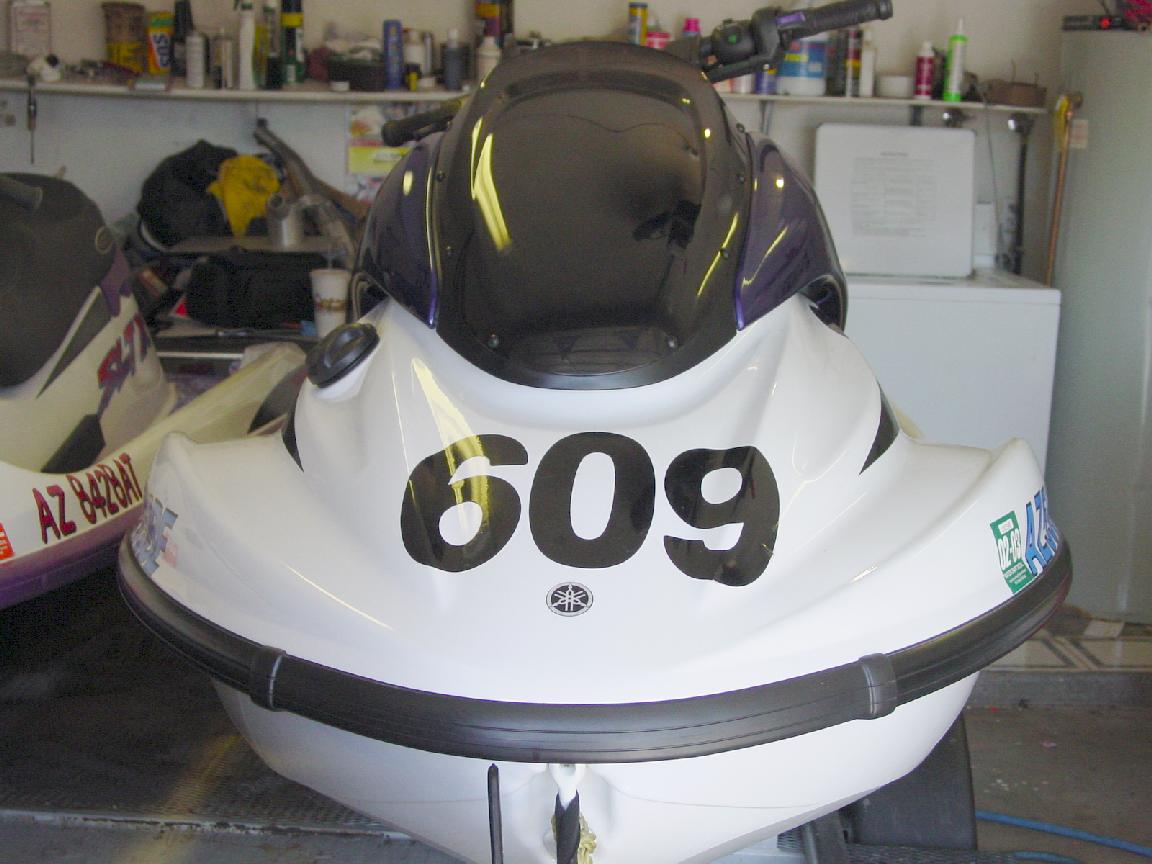
2002
Yamaha GP1200R
I once asked a friend of mine what
should I do to make my Polaris go faster. His answer?
"Just unscrew the Polaris Gas Cap,
and slide a GPR back under it...."
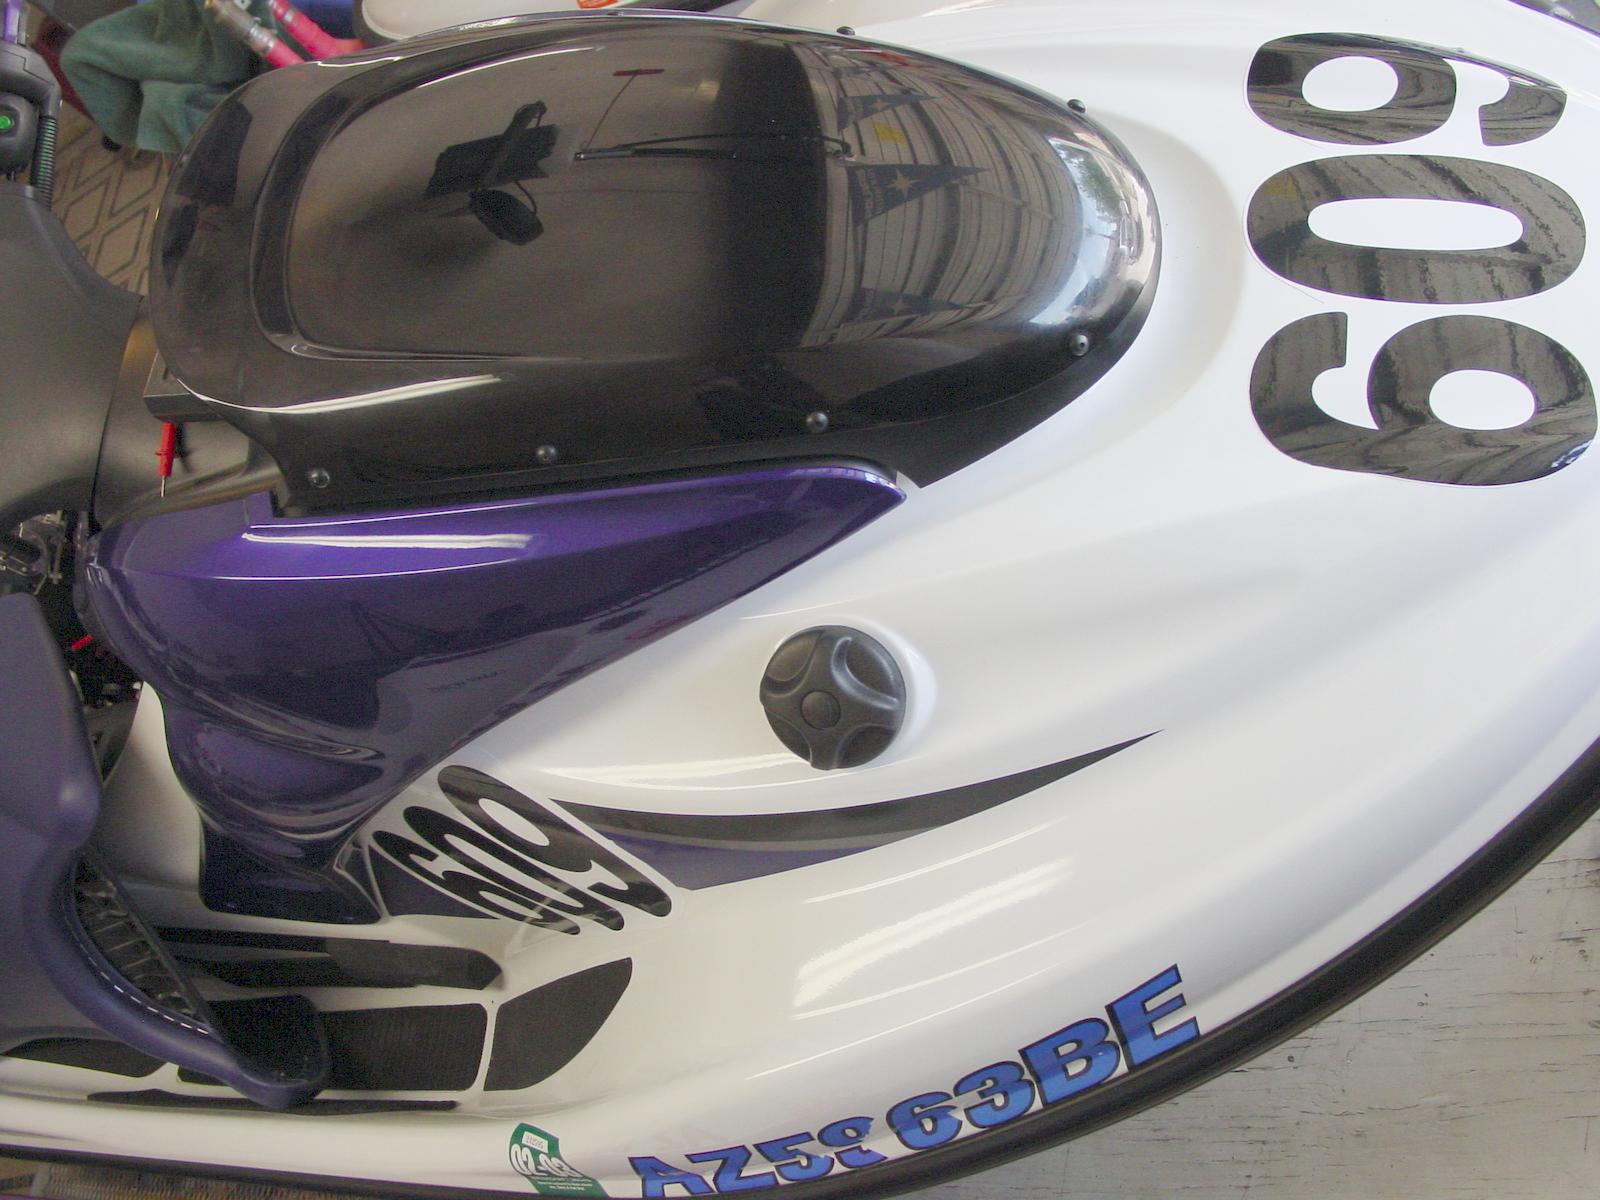
Have you had fun getting your stock
Yamaha gas cap off? Mine is not very friendly. The short height, and sharp
edges make it a tuff customer. This really SUCKS in the middle of an endurance
race, during pitting.
So the obvious choice for me was
to replace it with a more friendly model. Unfortunately, the best one I
could find was from my old Polaris... and it didn't fit too well on the
GPR. The parts are "close", but not an "exact match. The Polaris "locating
pin" is not the same size or location as the Yamaha. The pipe on the Polaris
is a little smaller, but the thread diameter on the Polaris is MUCH larger
than the Yamaha. In fact, it won't even fit in the stock hole, due to just
the thread size.
*****************WARNING******************
Bear in mind, that if you screw
up this install, and do not have an airtight seal, you could potentially
lean out your engine due to lack of pressure in your gas tank. Your engine
REQUIRES that your gas tank be kept under a certain pressure to work correctly.
Any leaks spell DISASTER for your engine. Proceed at your OWN risk.
****************WARNING******************

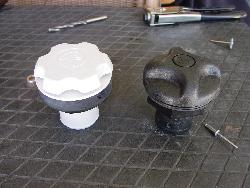
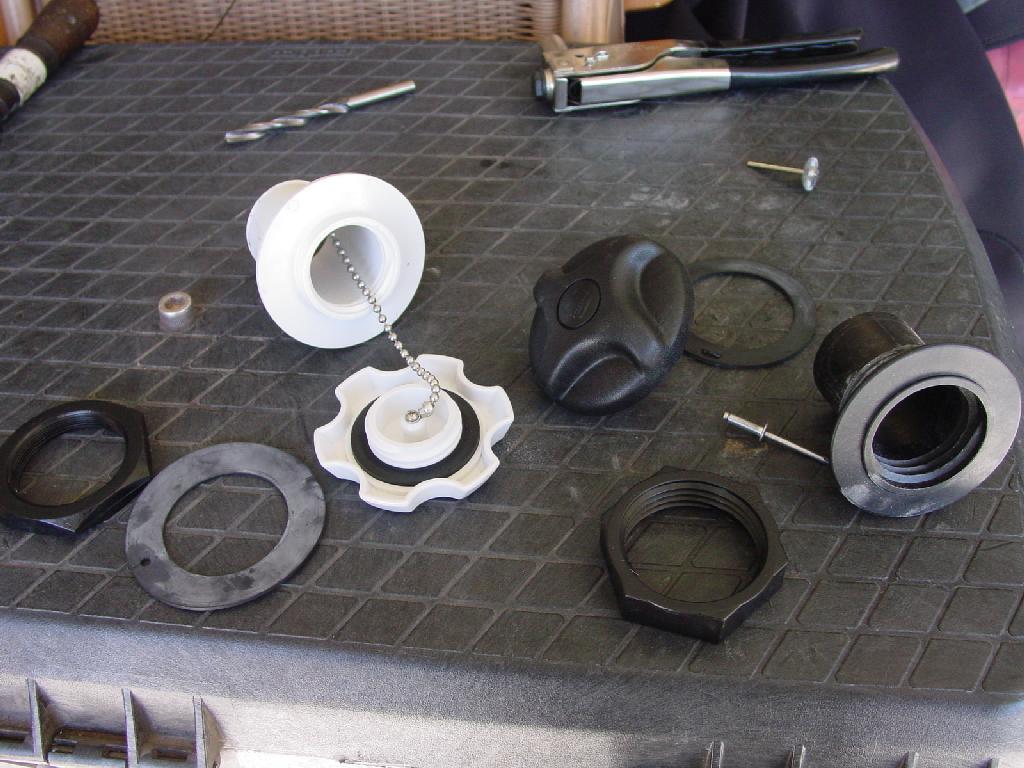
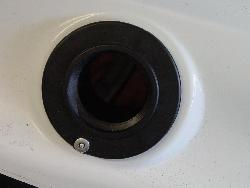
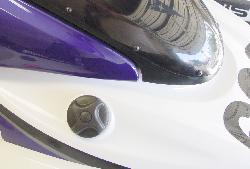
On the left is the stock cap. It
is a old style flat, hard to use, easy to stick, assembly. On the right
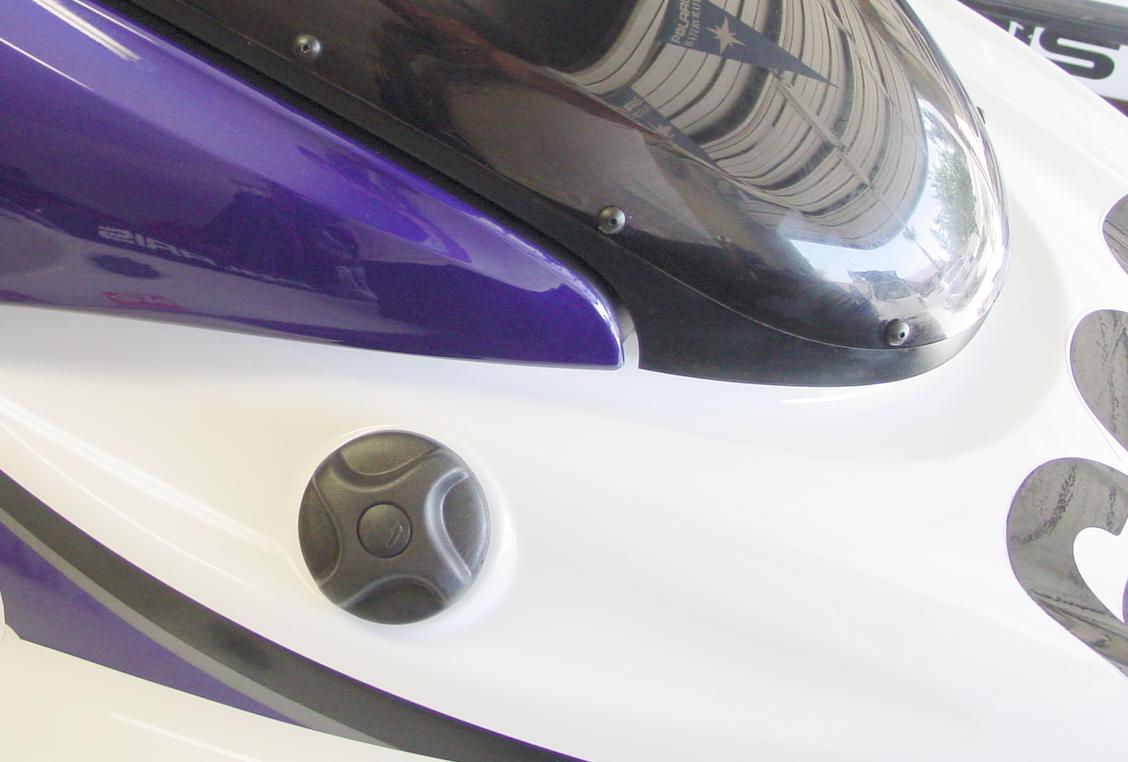
is a Polaris stock cap off of a 1999 Polaris SLTX. It has a nice ratchet
action, and seals with an O-ring instead of a flat gasket. The knurling
is large, and easy to grip. Once installed it is more visable (unfortunately),
but is much more friendly.
Difficulty?:Well, it ain't fun and
it is REALLY easy to screw up. You could even chip the paint, if you are
not careful. That fiberglass gets in your skin for a few days as well.
Time: 1-2 hours.
Cost: Polaris Cap, and receiver
assembly $ unkn.
Parts used:
Polaris Cap/Receiver.
1 teaspoon of 2 stroke oil.
1 aluminum rivet
Touch up paint.
Drop cloths of different size (throw
away).
Tools:
Rivit Gun
Drill, assorted bits.
Round Hasp
Flat head screw driver
Large Pipe Wrench
Elbow grease...
1. Release pressure from old cap.
Fun taking it off, eh?
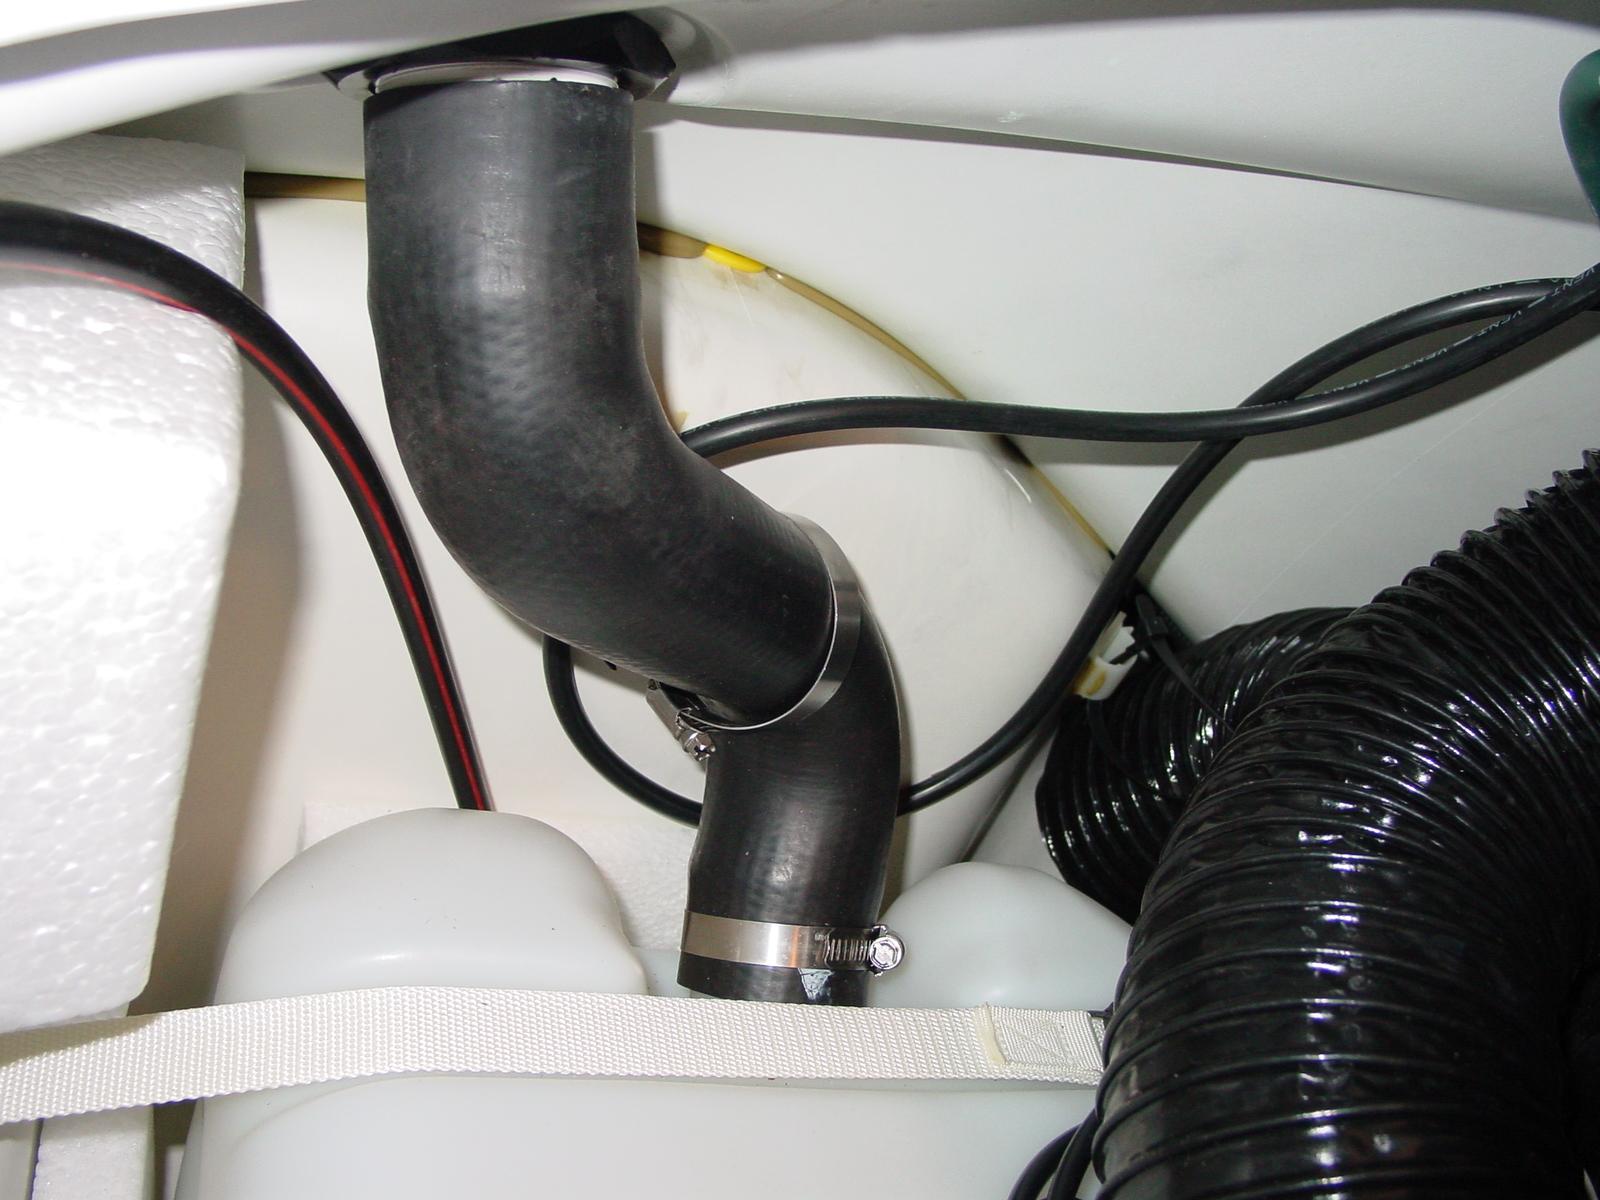
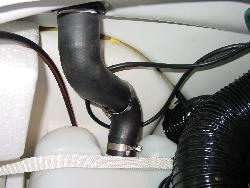
2. Take off the upper hose clamp.
Let it slide down.
3. Attempt to remove hose from neck
of gas filler. Didn't budge, did it? Take your teaspoon of 2 stroke oil,
and let it dribble down between the hose and the neck for a while. Go have
a beer or three.
4. Go have another beer. It ain't
ready yet.
5. Okay, use some windex and clean
up the area, where you made a mess with the oil. Let it dry and go wash
your hands. They need to be dry to grip that hose.
6. Try and twist off that hose.
It took me most of 15 minutes to work it loose. Don't screw up the hose
(or yourself).
7. Now that you are off, fold the
hose back, underneath the ducting, and other stuff, to hold it out of your
way.
8. Take your pipe wrench and work
off the nut holding the neck in place.
9. Remove neck.
10. Use your new cap/neck assembly,
and note the interference of the threads to the hole.
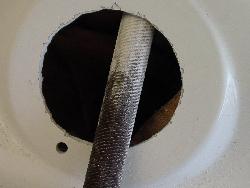
11. Use your round hasp, and enlarge
the hole... GENTLY. Keep checking the size using the new Polaris assembly.
Note that some of the paint was chipping away as I was doing this. When
you have reached the right size, touch up the paint around the new sized
hole, to prevent water damage.
12. At this time, you should be
able to see the interference on the nipple of the new Polaris assembly.
Unless you can cut it down to size, you may need to use your hasp, and
grind off the Polaris nipple.
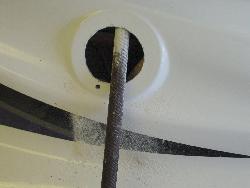
13. Size up a drill bit from the
existing locating hole. Using a cordless drill, from the inside of the
hull, mark the new Polaris assembly. Remove and drill the assembly on a
safe, flat surface. Reassemble and check for proper alignment.
14. If you are going to use the
safety chain, NOW would be the time to transfer it over from the Yamaha
cap.
15. Install Polaris gasket (it will
line up perfectly) on the assembly, and install thru hull. Place rivet
in hole from outside, but do NOT install rivet at this time.
16. Tighten down your large nut
using the pipe wrench. Make sure that the flat of the nut aligns with the
alignment hole, so that you can install the rivet. You might want to flip
the "flat side" of the Polaris nut over, away from the hull to allow a
little more room for the rivet.
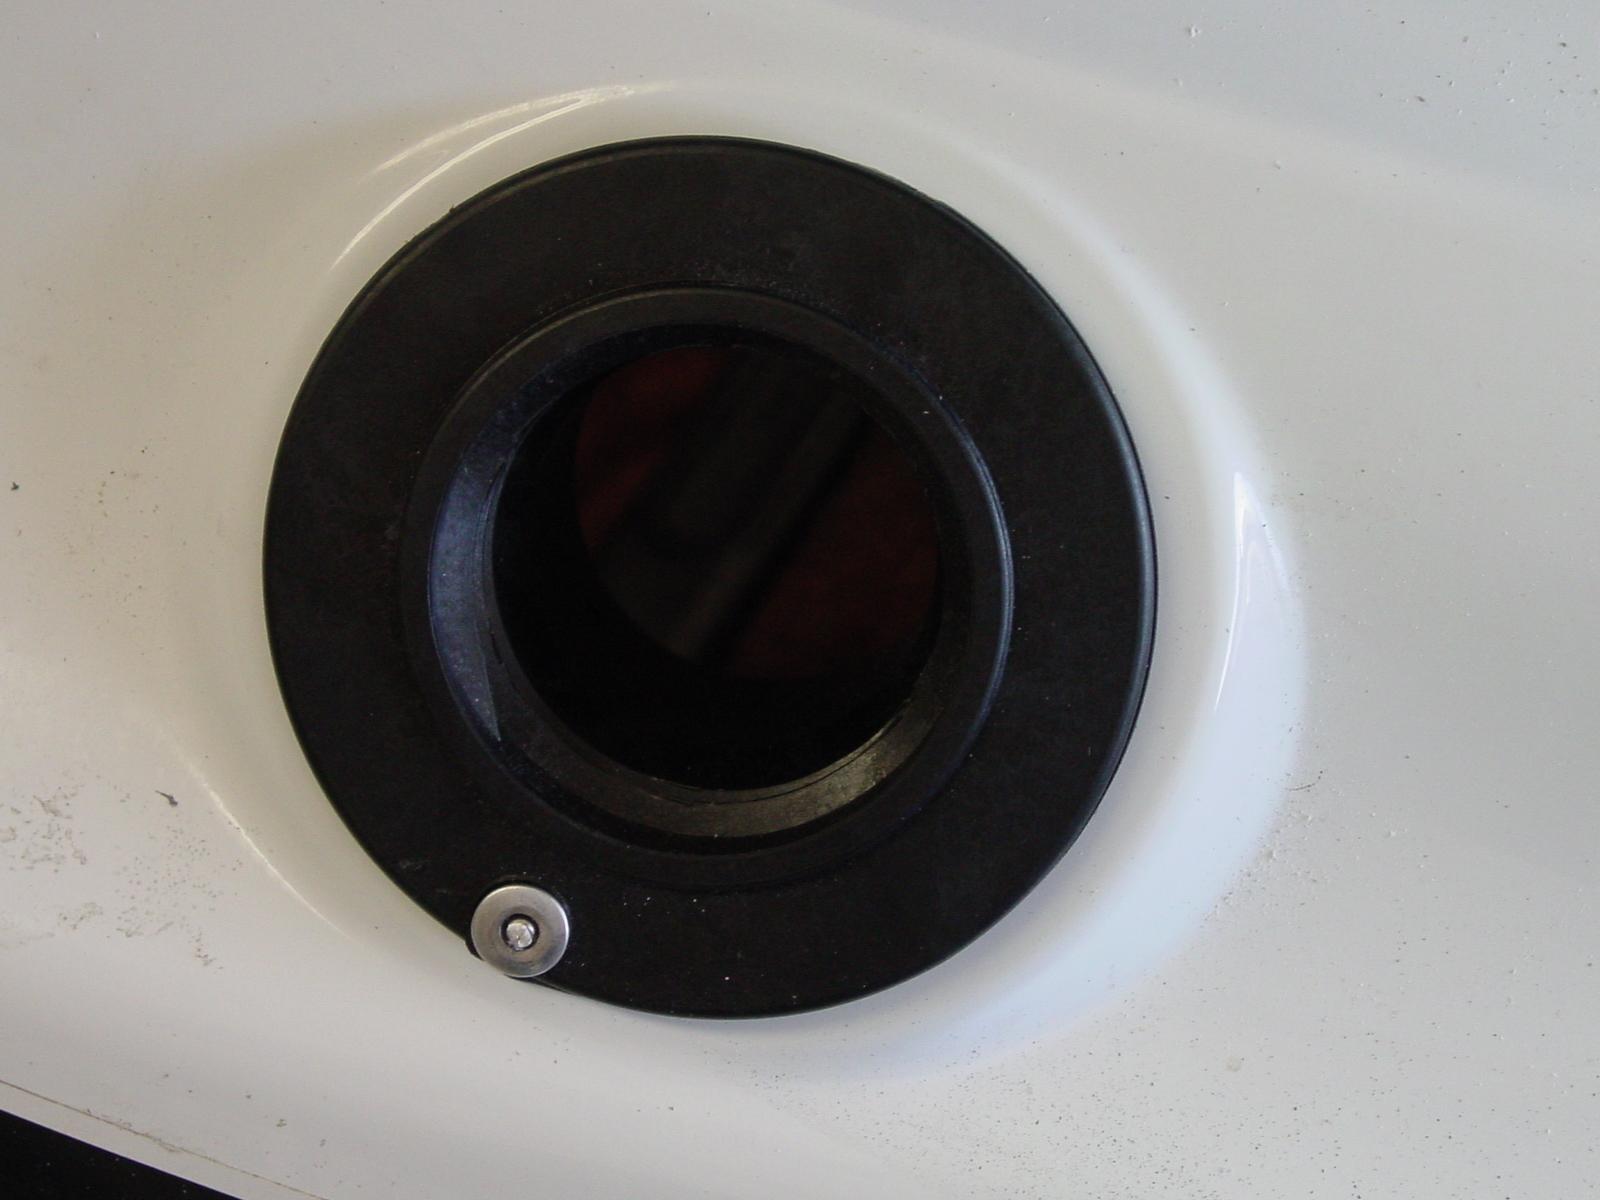
17. Use rivet gun and install rivet
from outside. Sand any rough rivet surface. RTV any opening on rivet.
18. Attach your main fuel hose at
this time. Neatly, and firmly tighten hose clamp down. Have your dealer
check your tank pressure if you do not hear a release of pressure, when
your cap is removed.
You are DONE.
.

Last updated 04/23/02