Gauges
Page
Gauges
Page
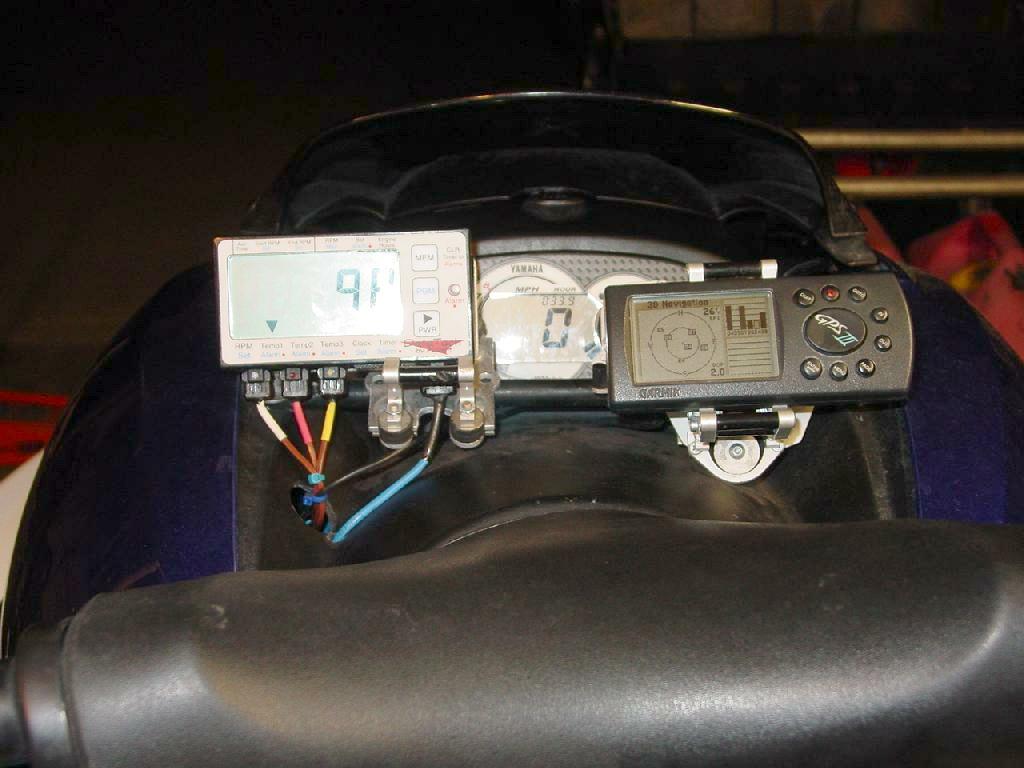
The stock Yamaha gauge package on the GPR shows little useful information for the weekend warrior. A GPS, Tach, and EGT, can provide invaluable information for determining things such as...
Tuning- Max RPM and speed.
Navigation- Determine race position or provide rescue coordinates.
Altitude- Determining proper altitude can greatly assist in fine tuning.
Engine Health- EGT temps, and engine RPM's can let you know about trouble before it's too late.
******WARNING******
I
have wired this unit up, to not power down, in case of the ski turning
off. Do not leave your GPS running, or you may end up with a dead ski battery.
If you do not have an electrical background, you might want to get help
hooking up the wiring. GPS and SKI electronics are expensive to repair.
*******WARNING*****
Difficulty?: Drilling is required
for this modification, if you so choose to do it this way...
Time: 2 hours or more.
Cost: It's up to you. A good "Ram
mount" runs under $80. This "Tourtech" motorcycle mount from cycoactive.com
was over $150.oo The GPS power cable is around $20. You want to get the
one without computer hookups, because the power wires are thicker.
Parts used:
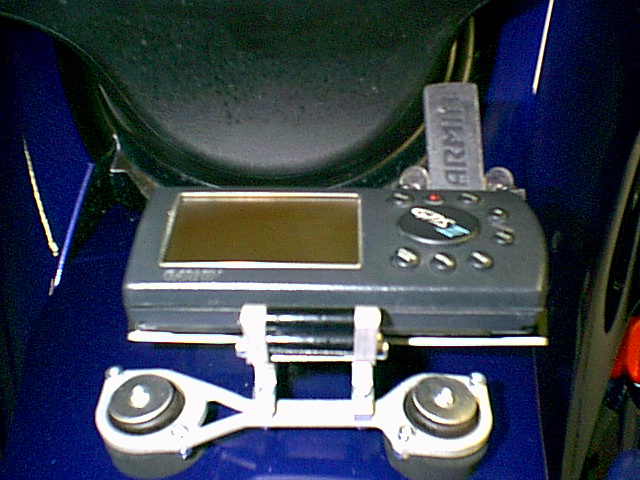
GPS mount.
GPS cable.
GPS.
Zip ties.
Zip tie attachment.
Electrical connectors.
Tools used:
Digital Volt Meter.
Drill and assorted bits.
Metric Allen wrench set.
Cross patterned screwdriver, medium.
Wire strippers
1. Determine Location based on YOUR personal preference. Remember that when you come off the ski un-expectantly, you do not want to take your GPS with you into the drink. Is there something to use as a safety hook, as well?
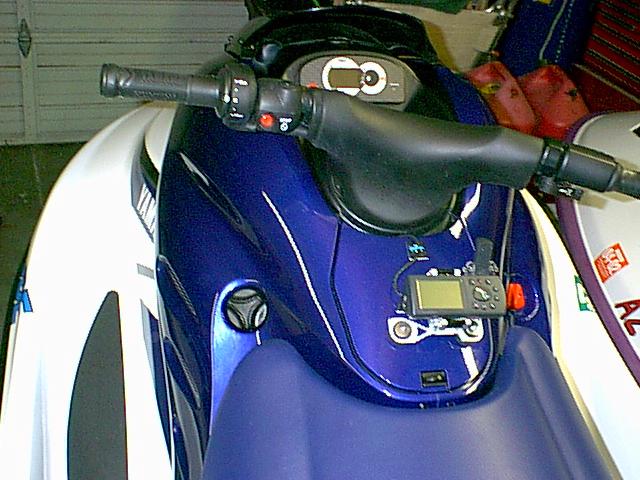
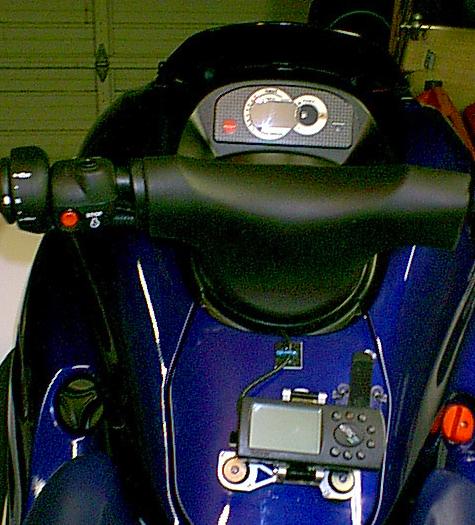
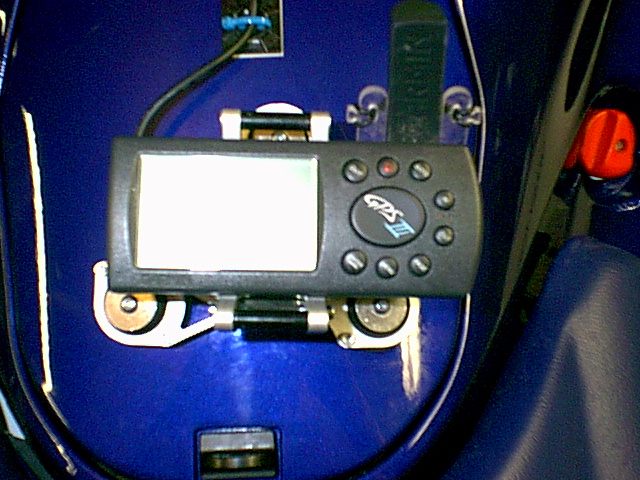
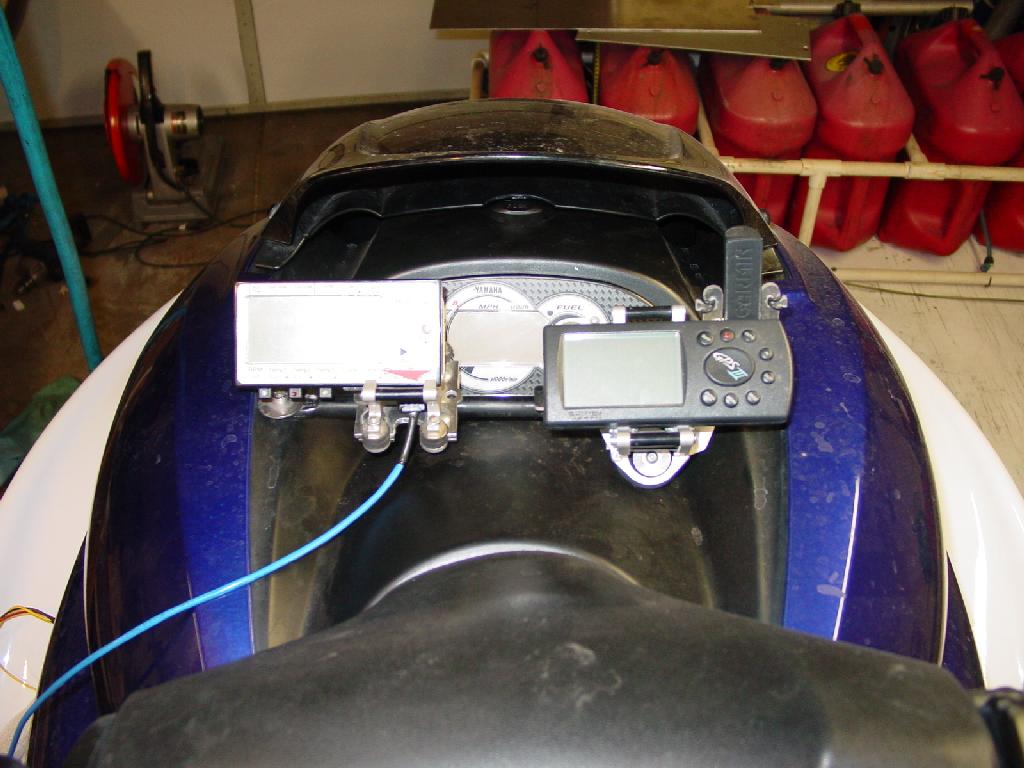
2. I chose the glove door for a couple of reasons. The location allows me to see the GPS under full throttle runs, without moving my head. It also is protected from the direct force of subing the ski, as well as any contact from other skis. It was reasonably easy to find a route for the wiring. It does not interfere with the stock guages.
3. Use your mount to determine mounting holes. Drill carefully to avoid damage to surrounding areas. On the glove box, you may need to releive a little amount of foam around the new holes.
4. Attach the new mount with all the hardware.
5. Remove side panel to front hood. This requires 2 bolts under the hood, 1 bolt under glove box, and a metric allen head near the footwell area. Next pull straight OUT to unsnap the hood from the 4 side mounted snaps. Be carefull to pull straight OUT, not up. Try to unsnap them one at a time.
6. Once this panel is off, you will be able to see underneath the dash area, yet over the top deck area. Note where all the wiring is entering the hull. This will be where your wires will go thru.
7. Open front hatch, and remove bucket. Find the rubber feedthru, with all the wires coming thru the top deck. Carefully remove the reusable zip tie from around the factory wiring harnesses.
8.Make sure that you note which was positive, and which was negative before you cut.
9. Now slip the wire down thru the rubber feedthru. Once thru Re-zip tie the opening shut.
10. Next, it is time to find a 12VDC
source wire, and a ground...

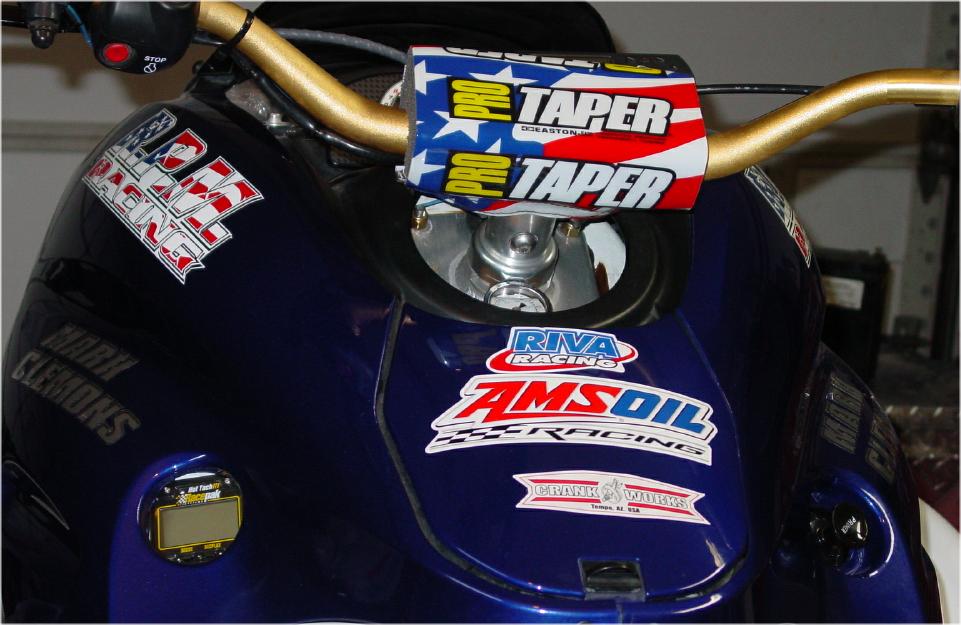
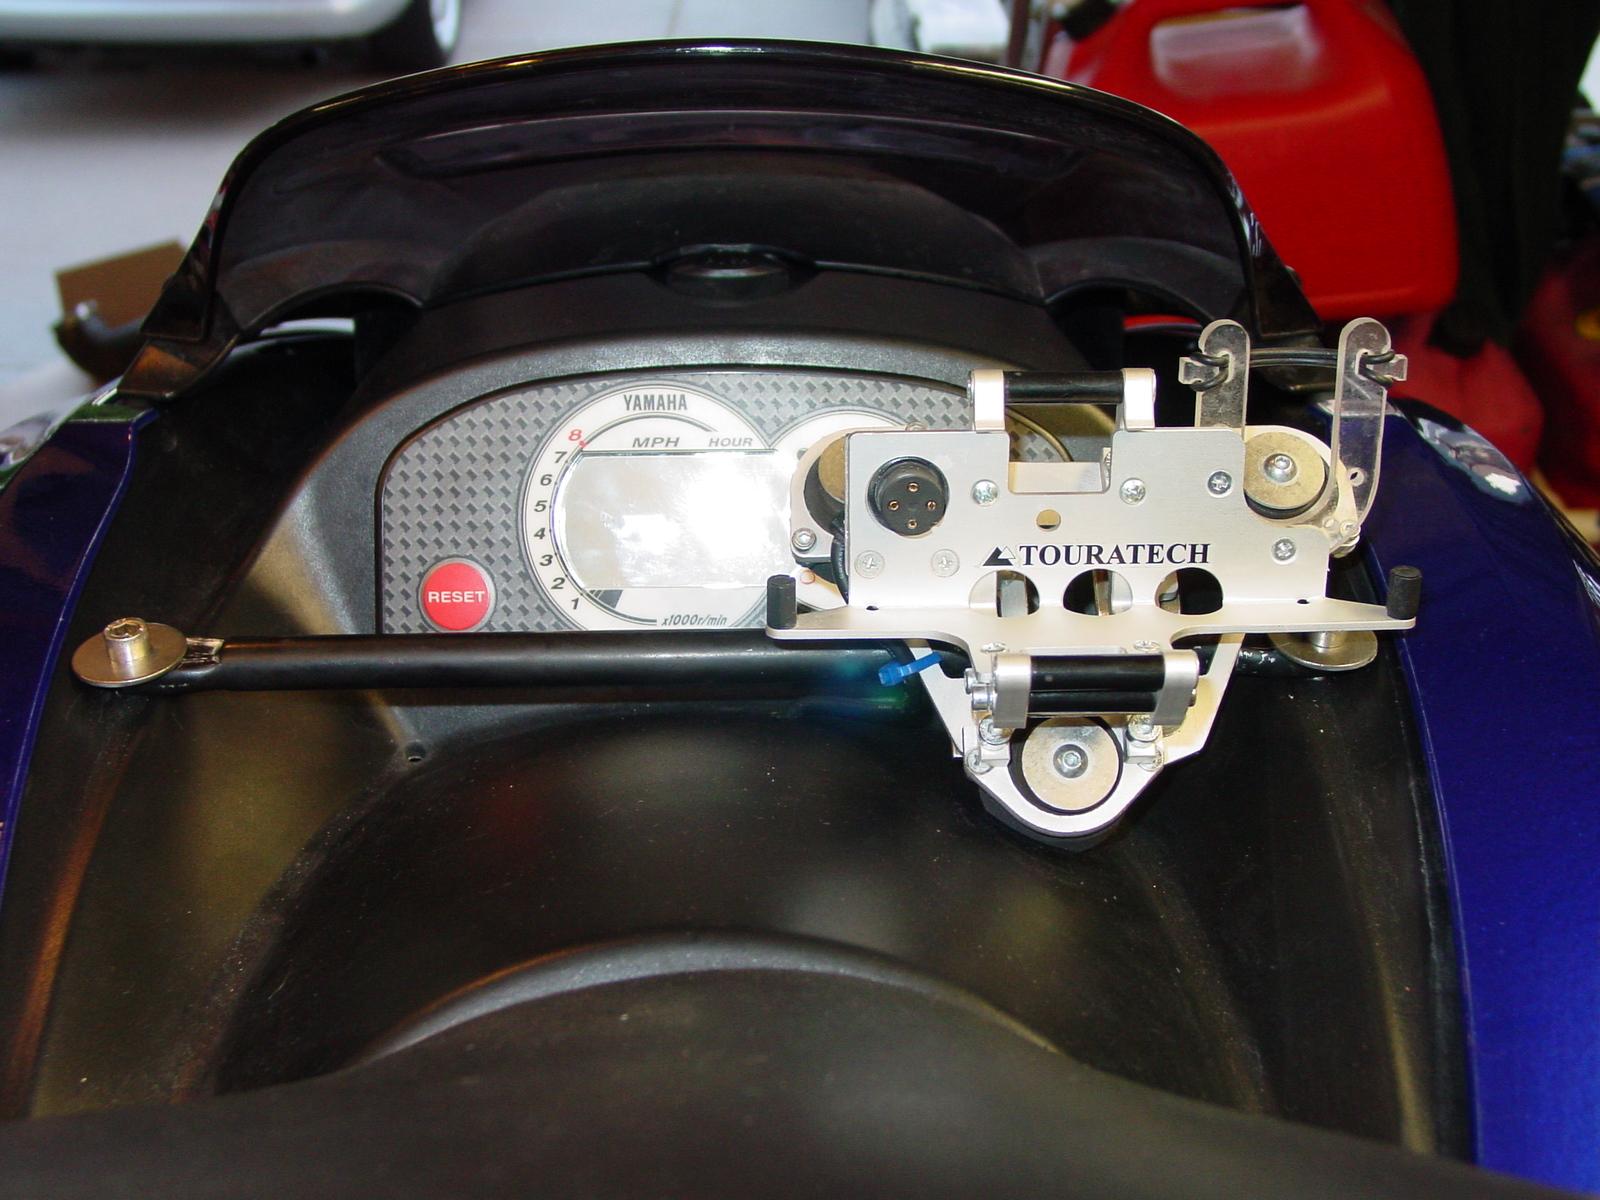
Tourtech motorcycle mount.
Banshee aftermarket crossmember
bar, 10.5inch
4 SST washers.
2 SST allen screws, and nylocks.
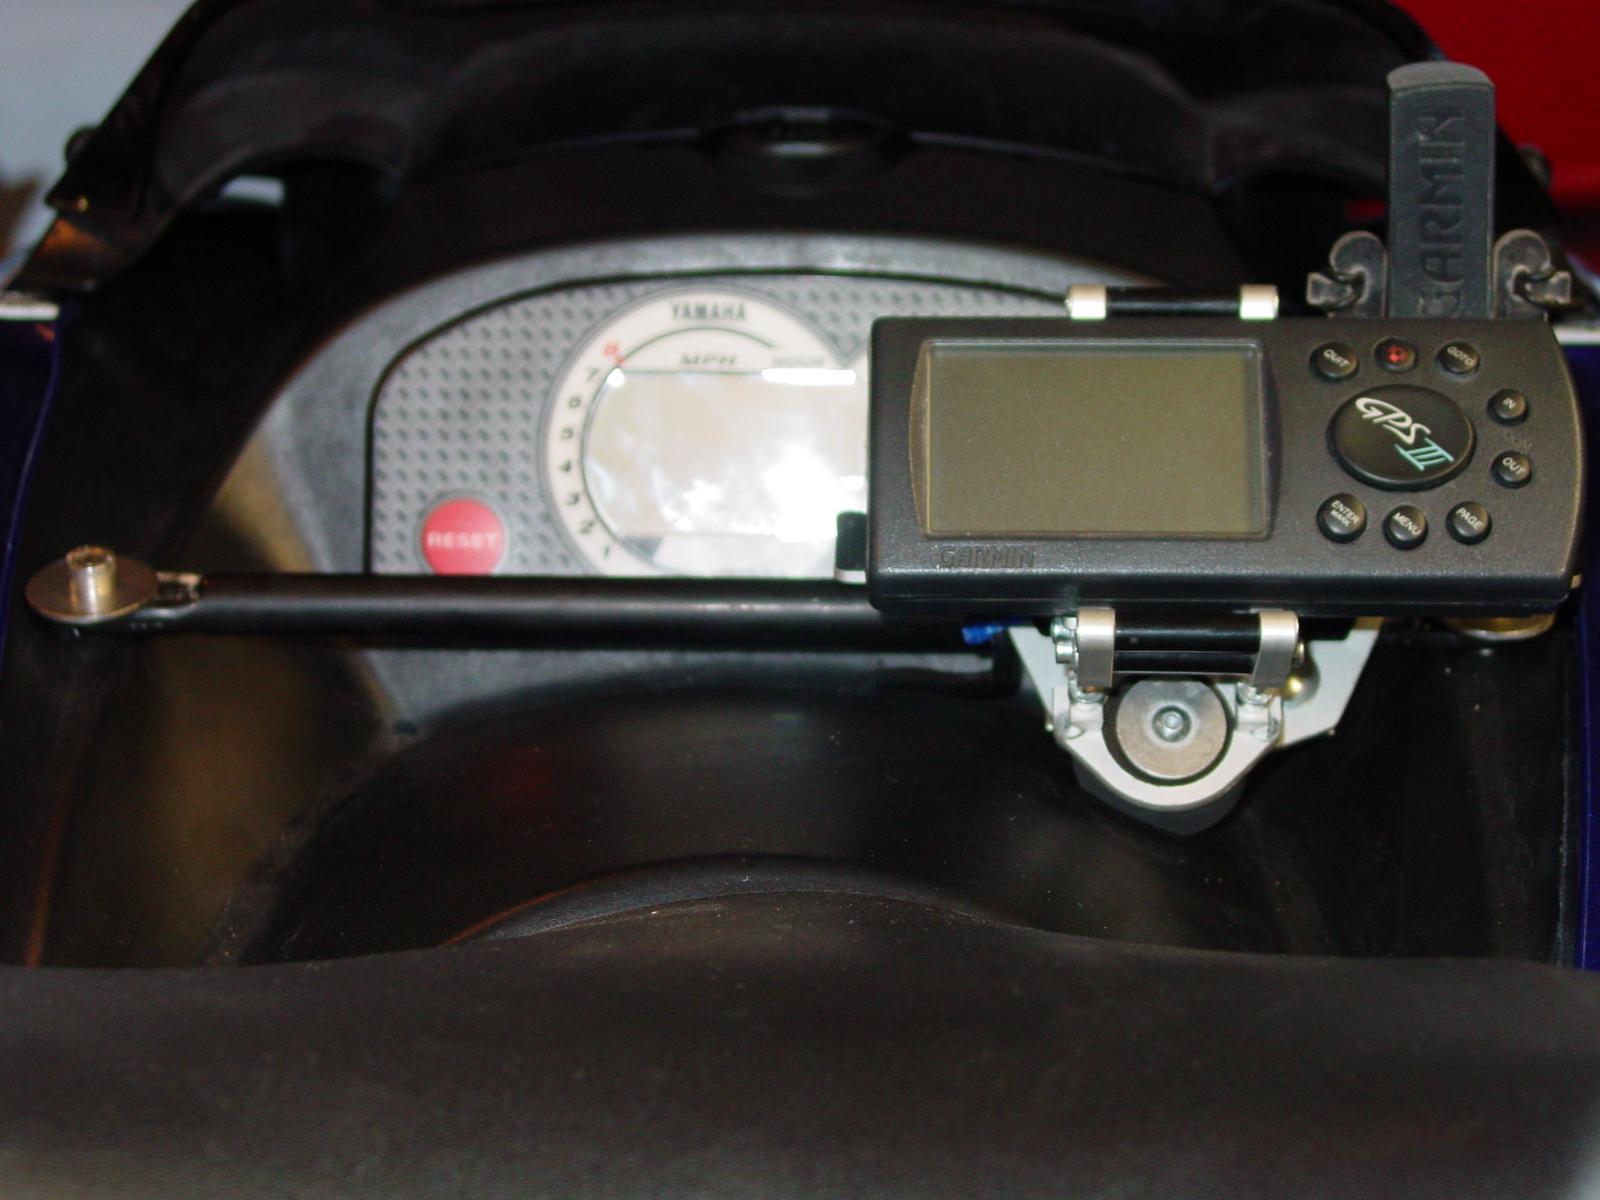
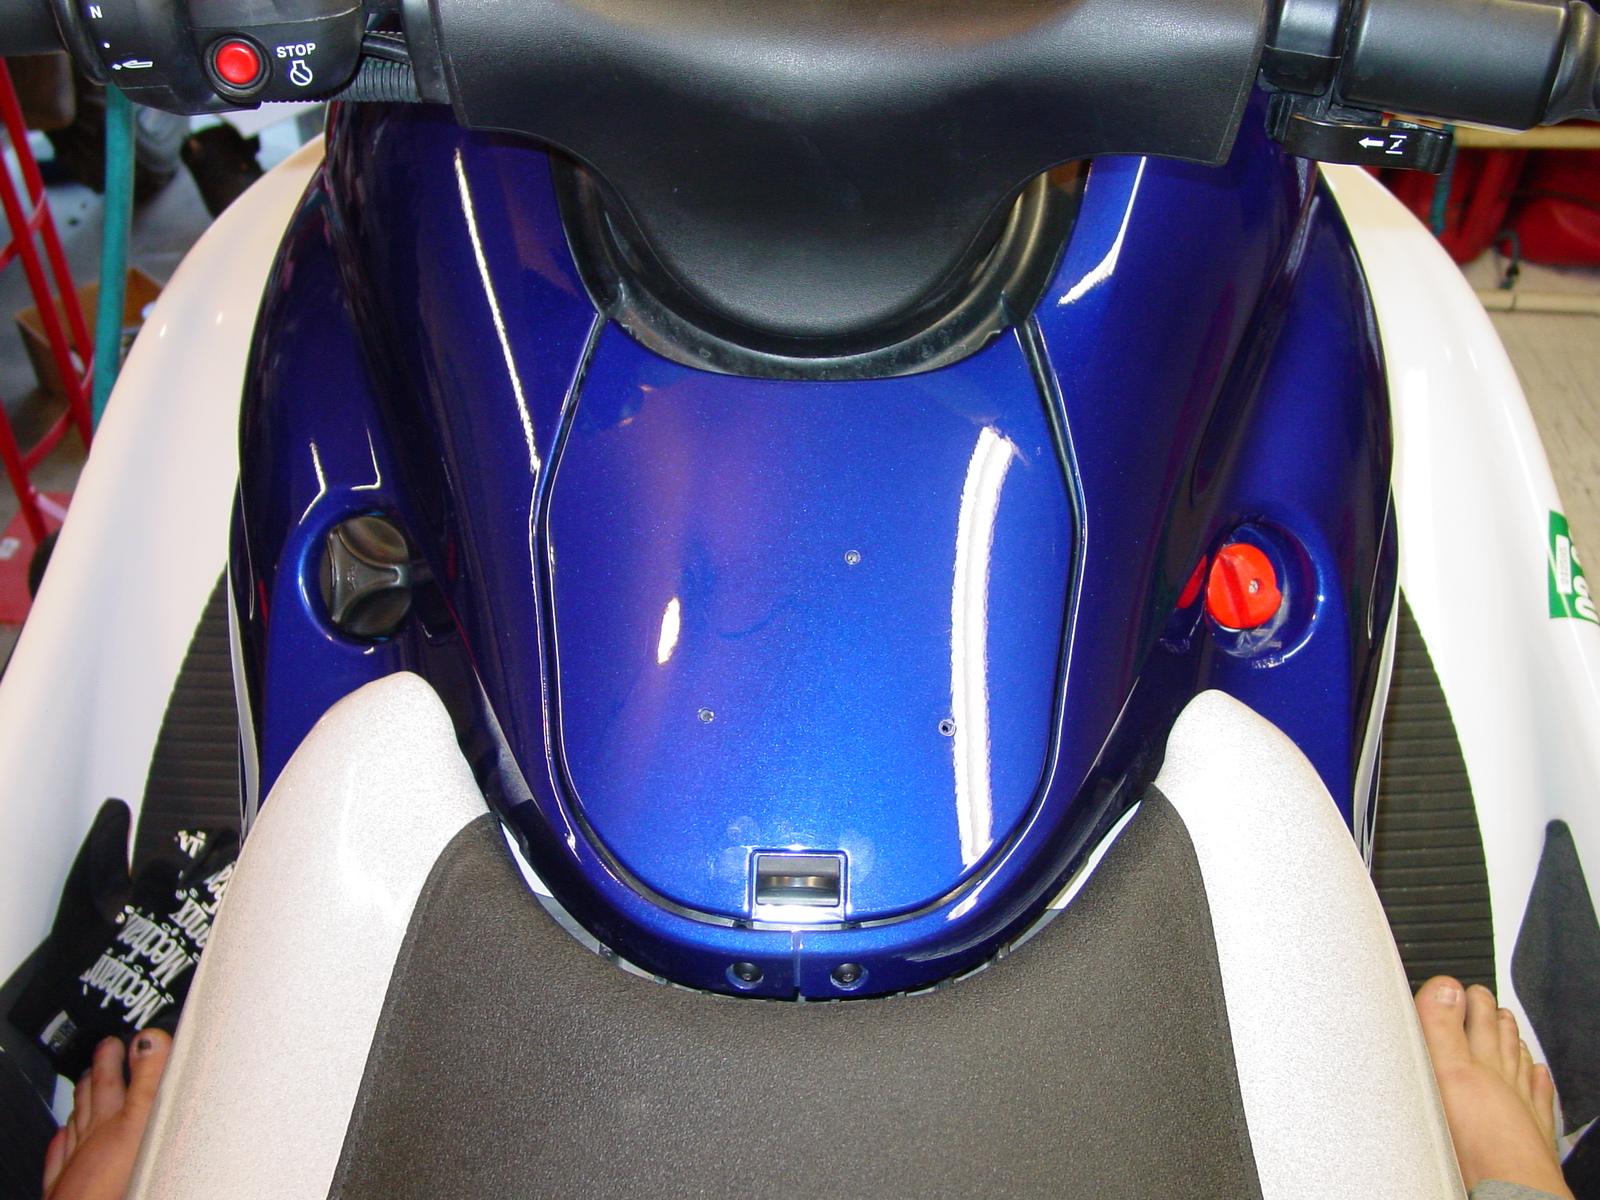
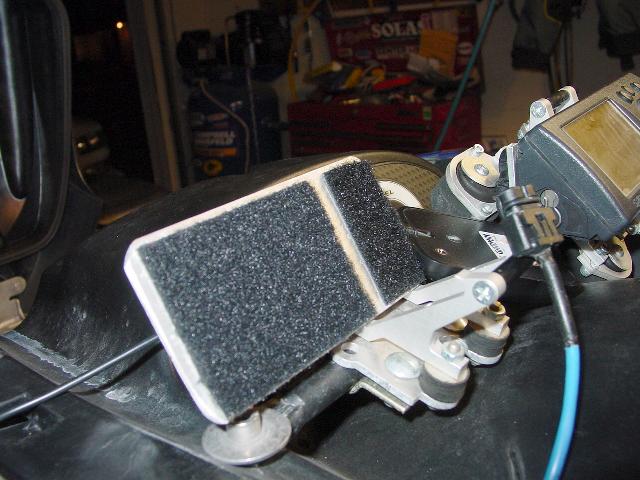
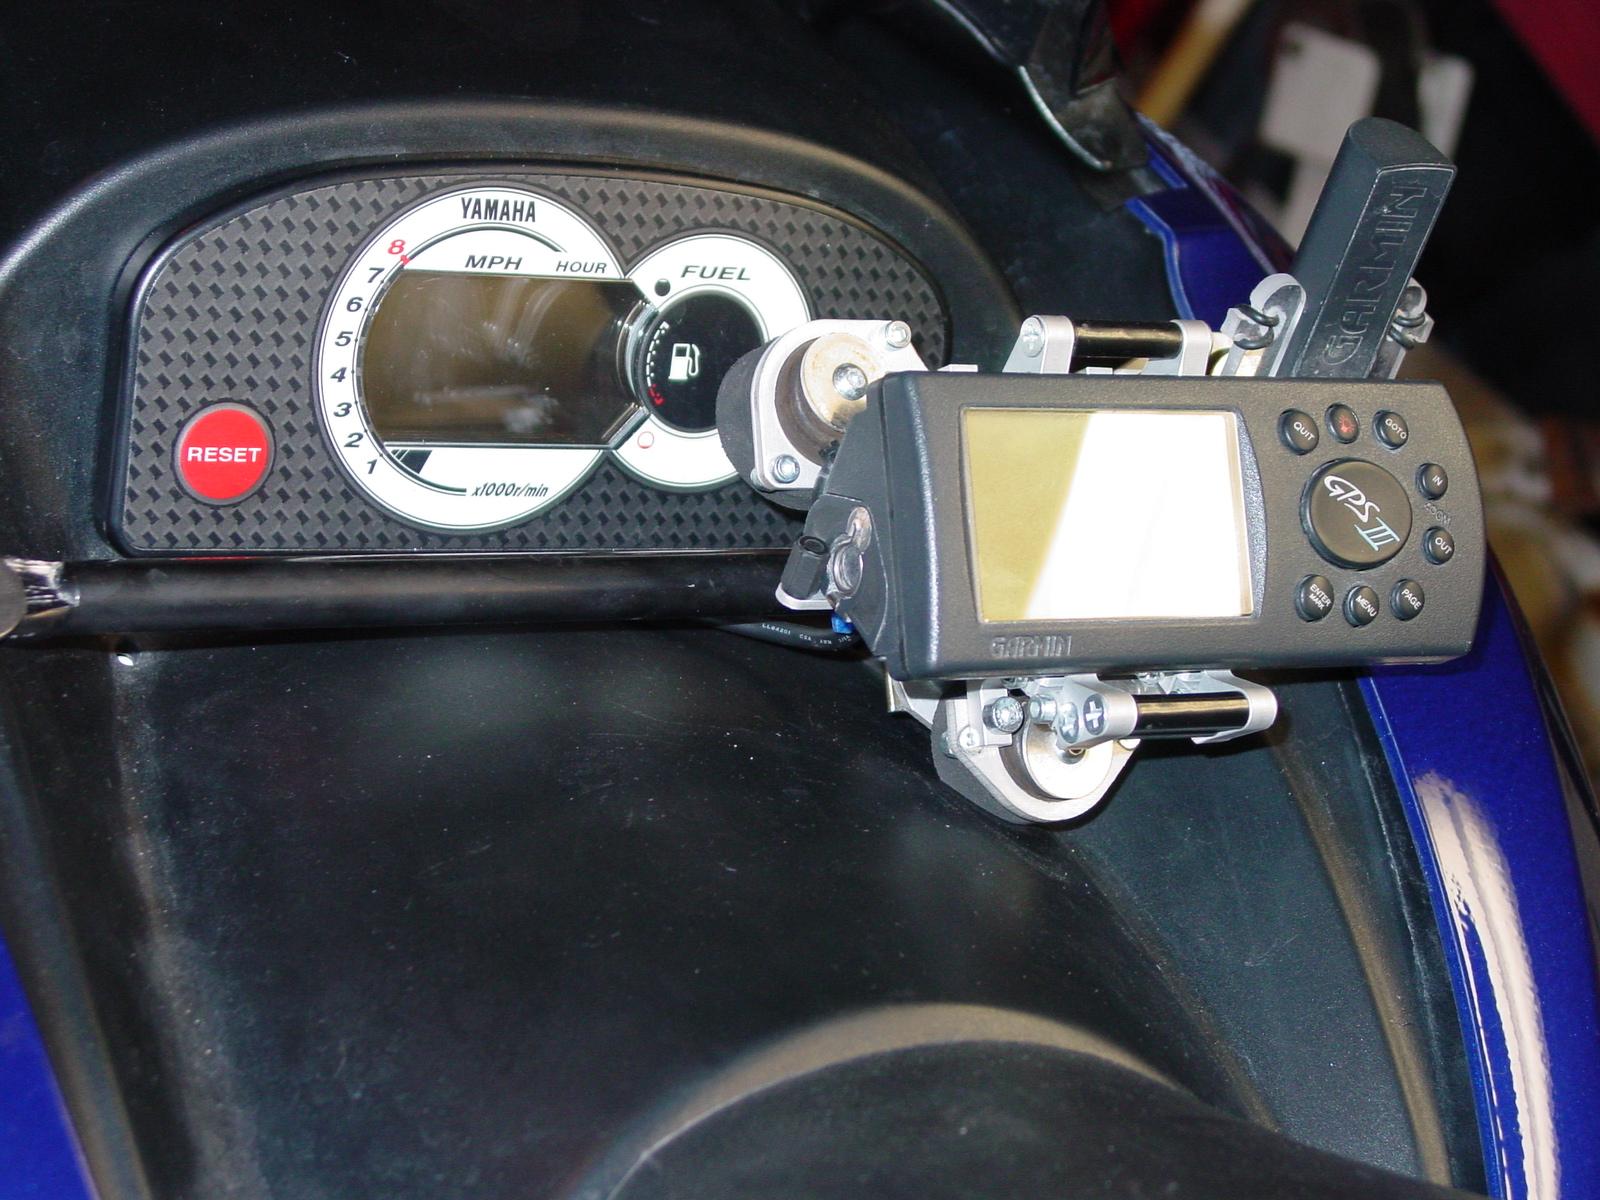 -Finished
product. Guage is still viewable, however, the fuel reading might be blocked
from the right.
-Finished
product. Guage is still viewable, however, the fuel reading might be blocked
from the right.
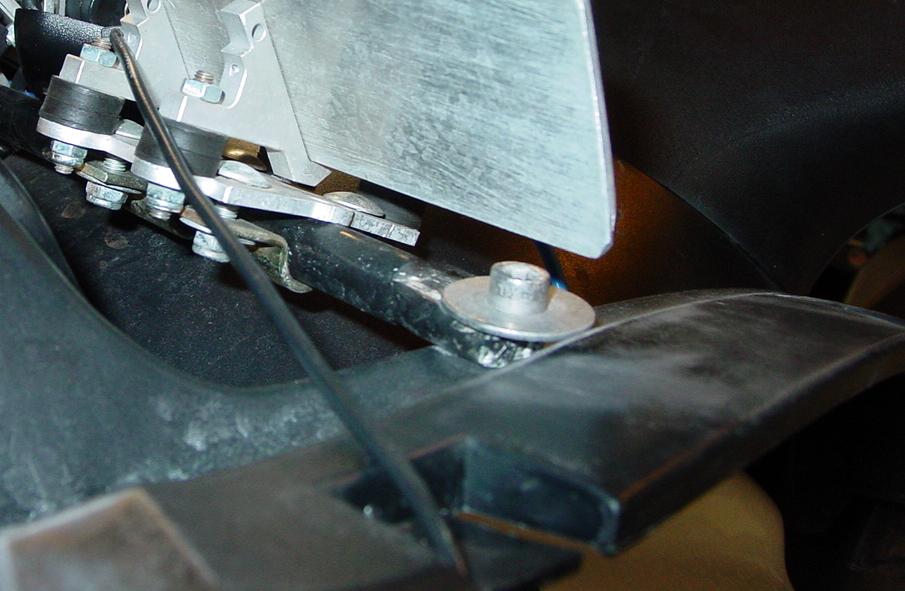
 -Mounted
the crossbar, using a SST washer on top, and below the plastic. It seems
pretty strong!!!
-Mounted
the crossbar, using a SST washer on top, and below the plastic. It seems
pretty strong!!!
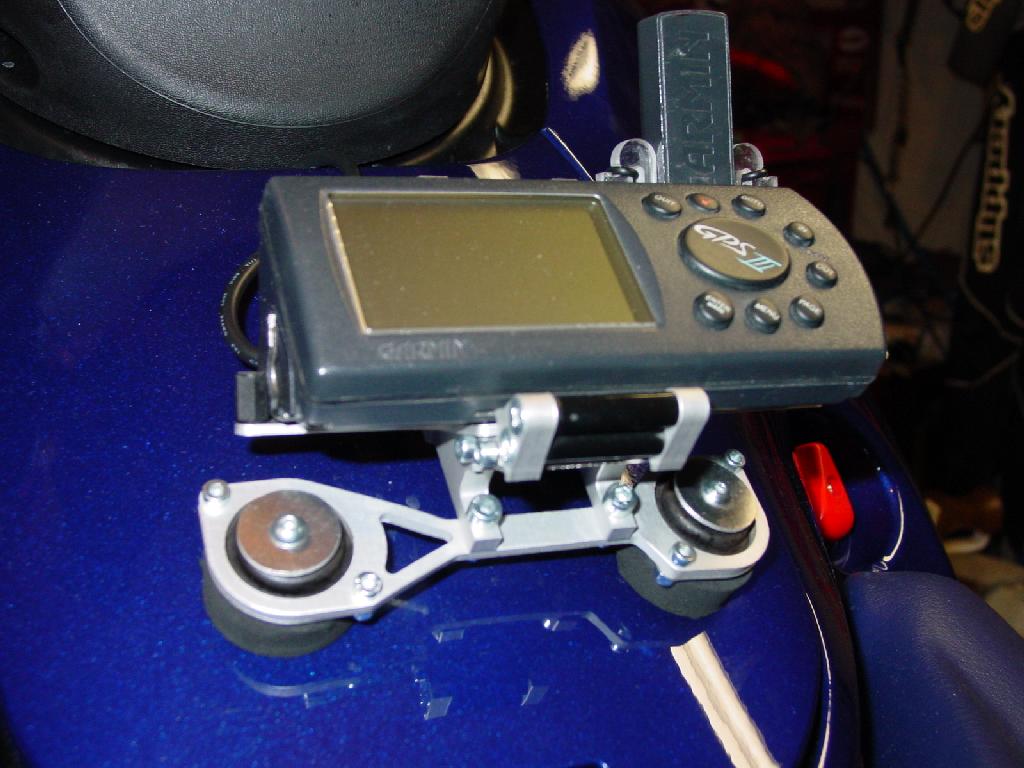
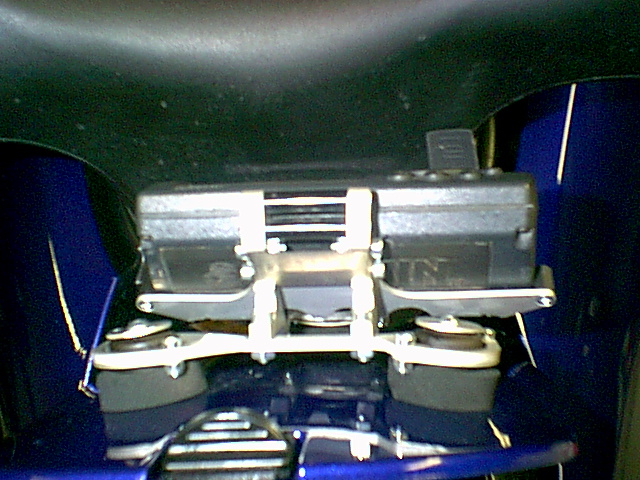
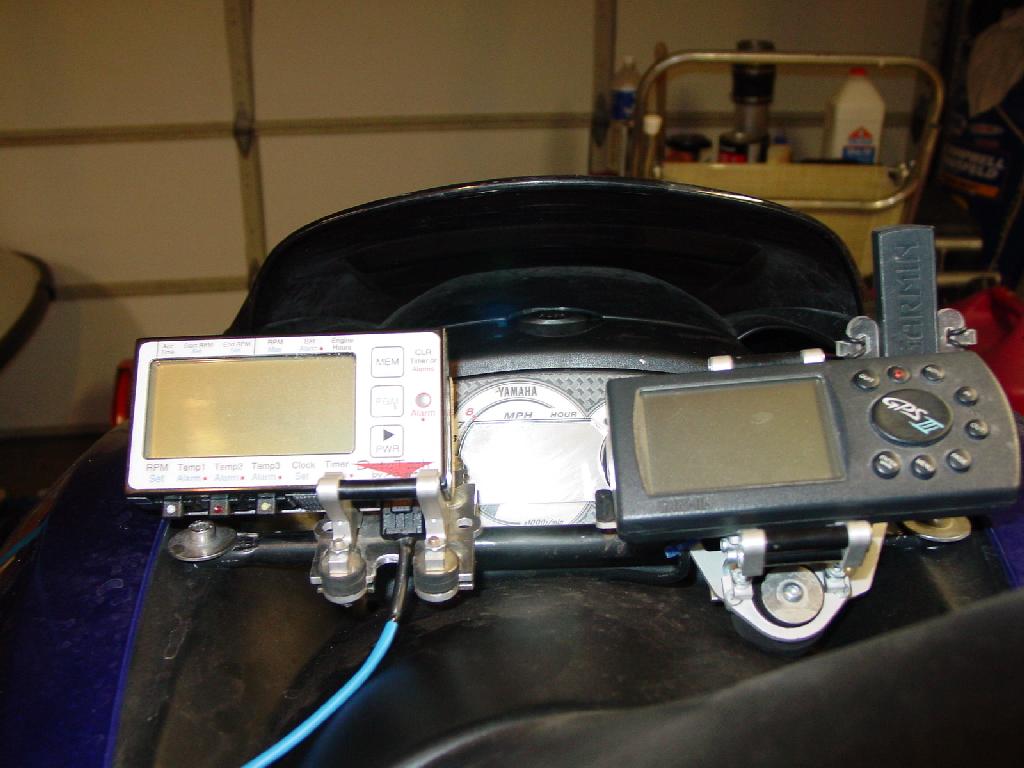
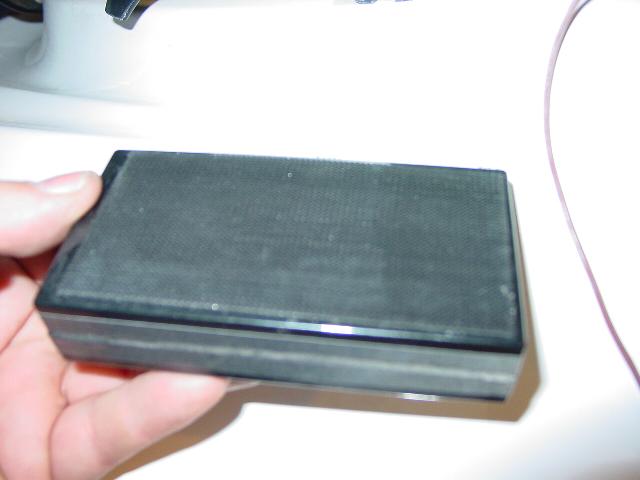
 -A
couple of shots with the GPS removed.
-A
couple of shots with the GPS removed.

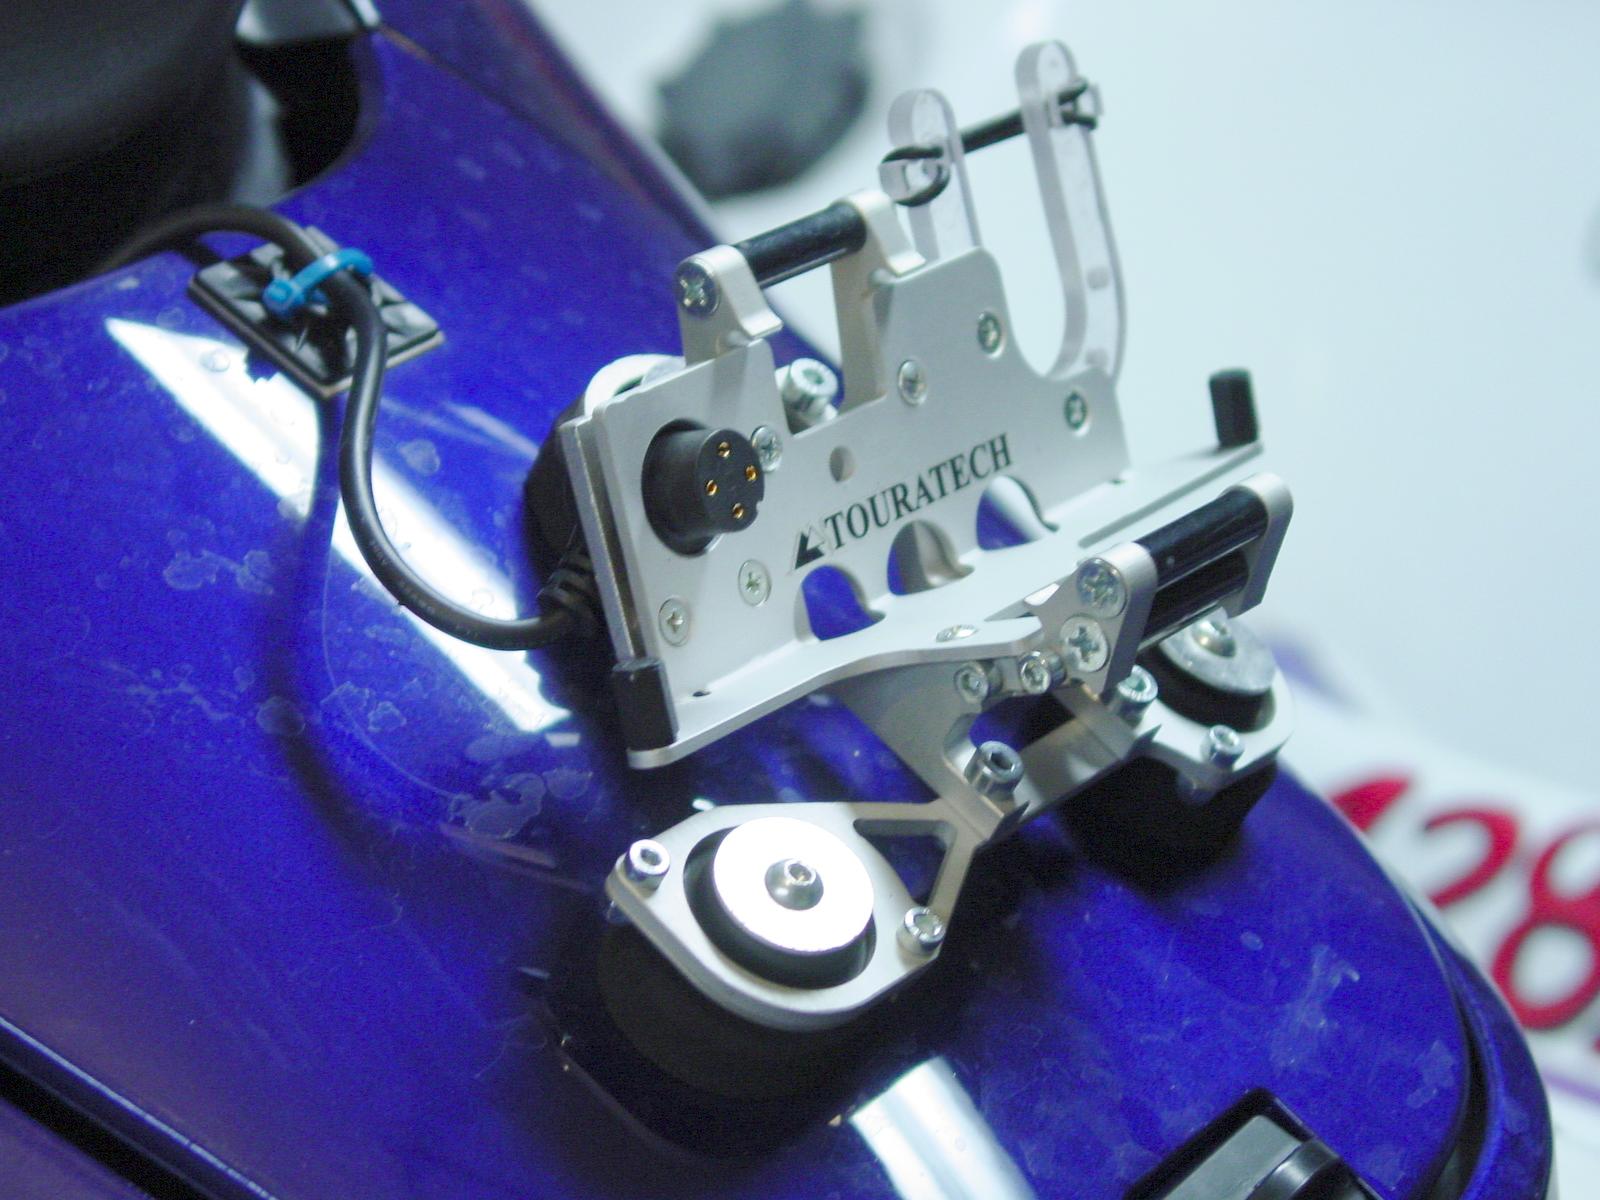
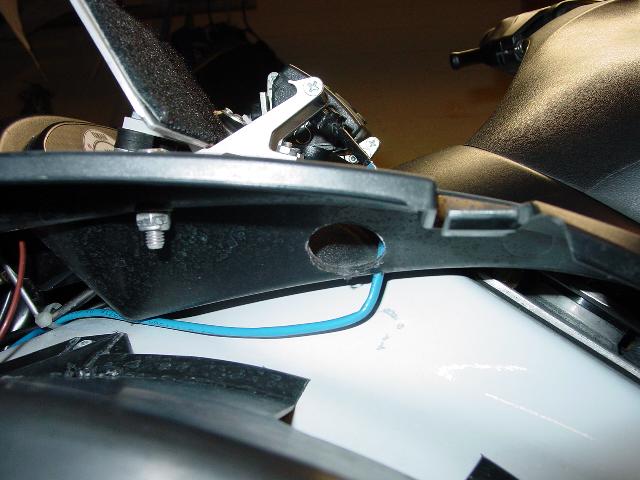
 -Note
the damage from my previous installation. Time for a warning sticker!!!
-Note
the damage from my previous installation. Time for a warning sticker!!!

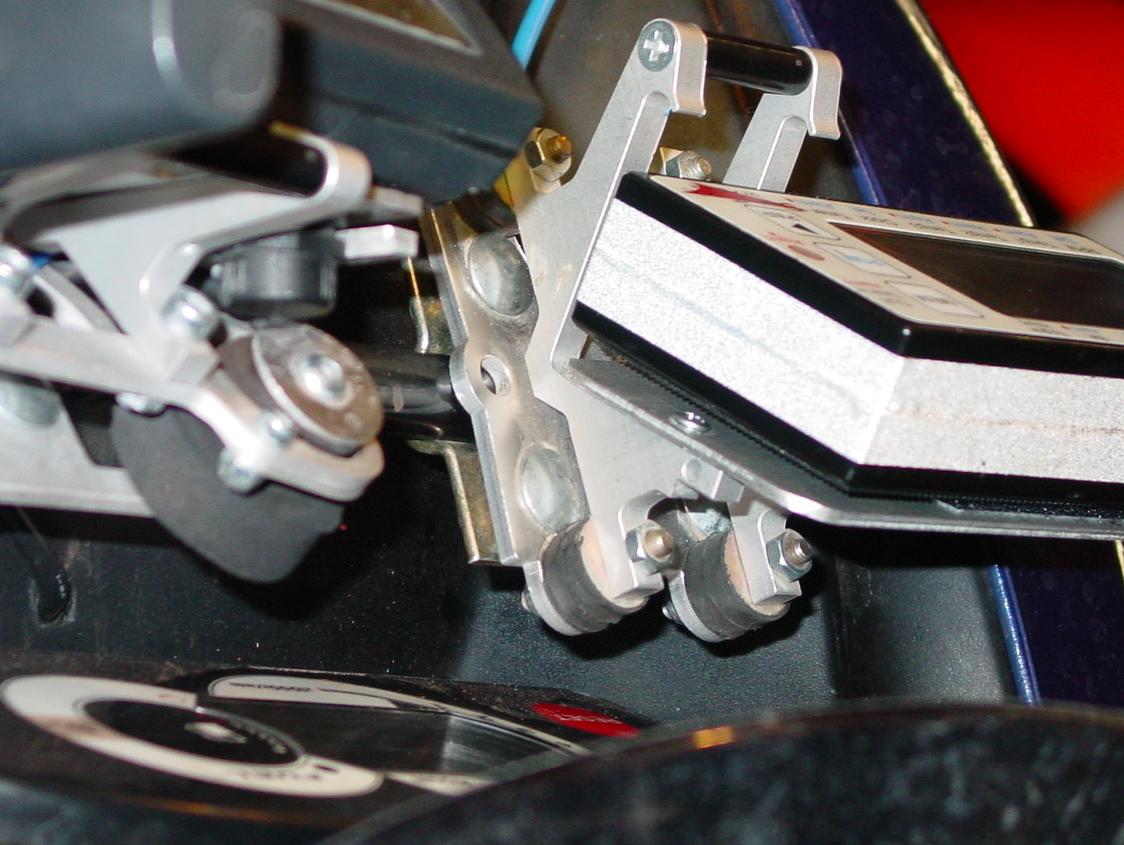
Figuring out where to run the wires...
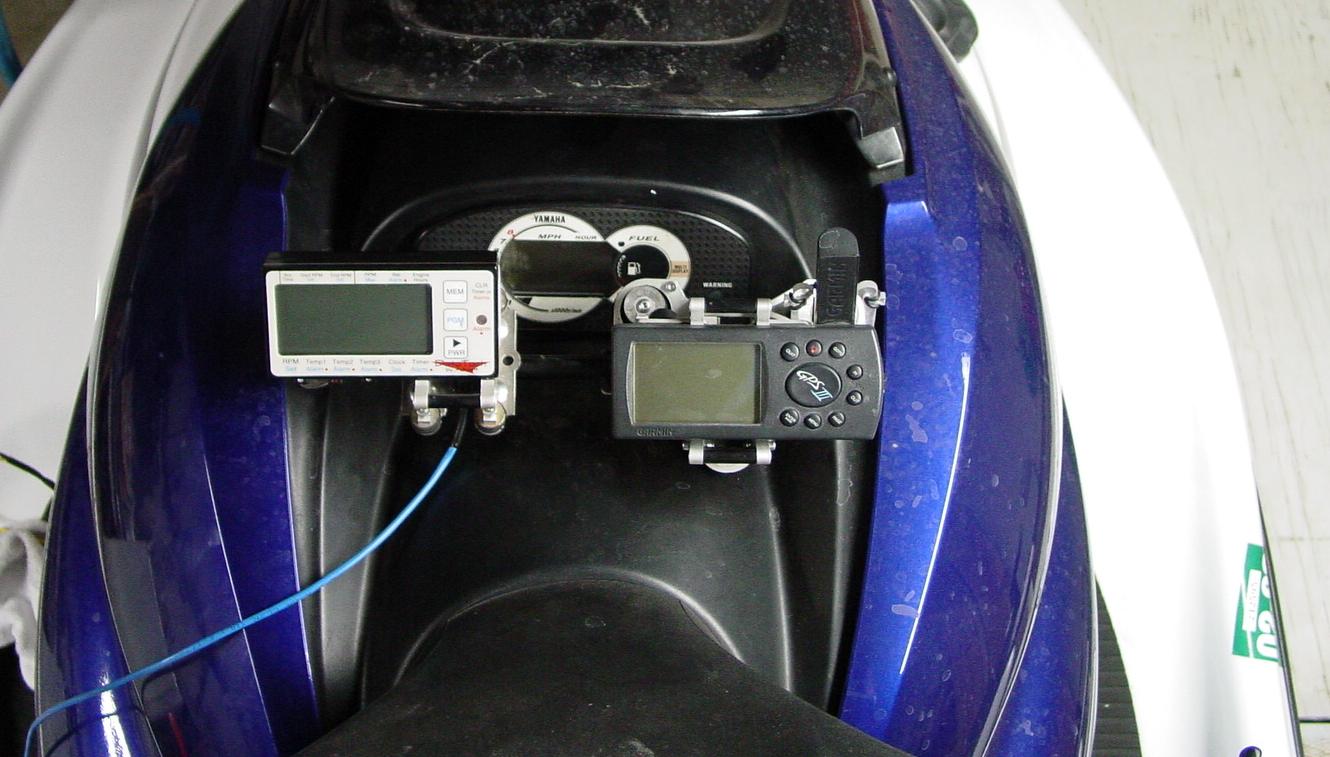
Views during initial positioning.
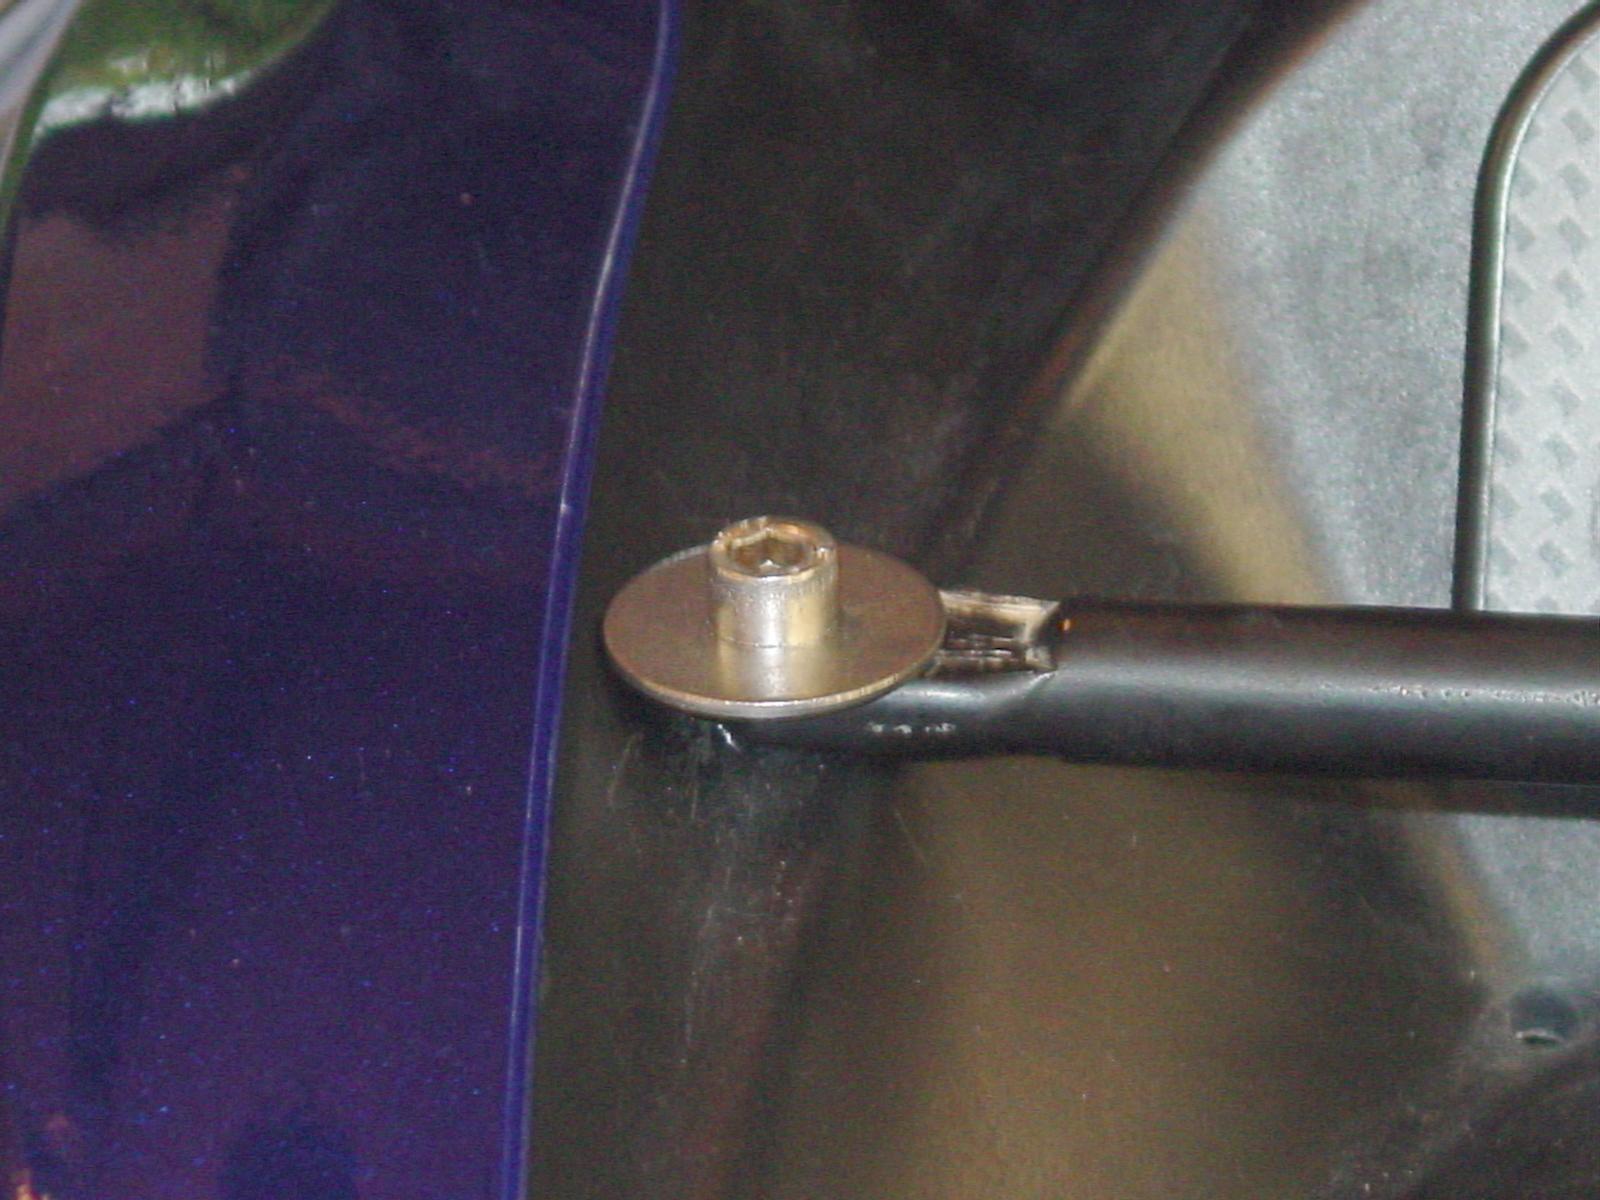
Motocross bar was secured using a SST bolt/washer/nylock
thru upper plastic dash.
I only used the flat washer on top of the bar,
due to the small mounting area on backside of dash.
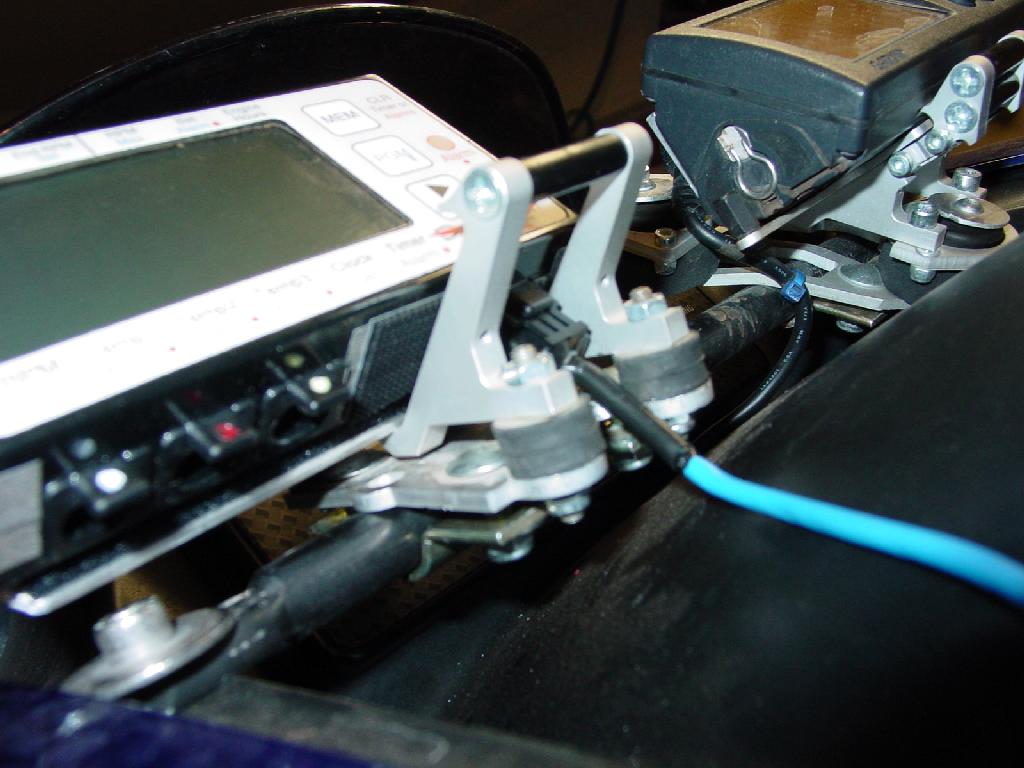
Velcro was used on back of EGT unit, as well
as home made aluminum plate.
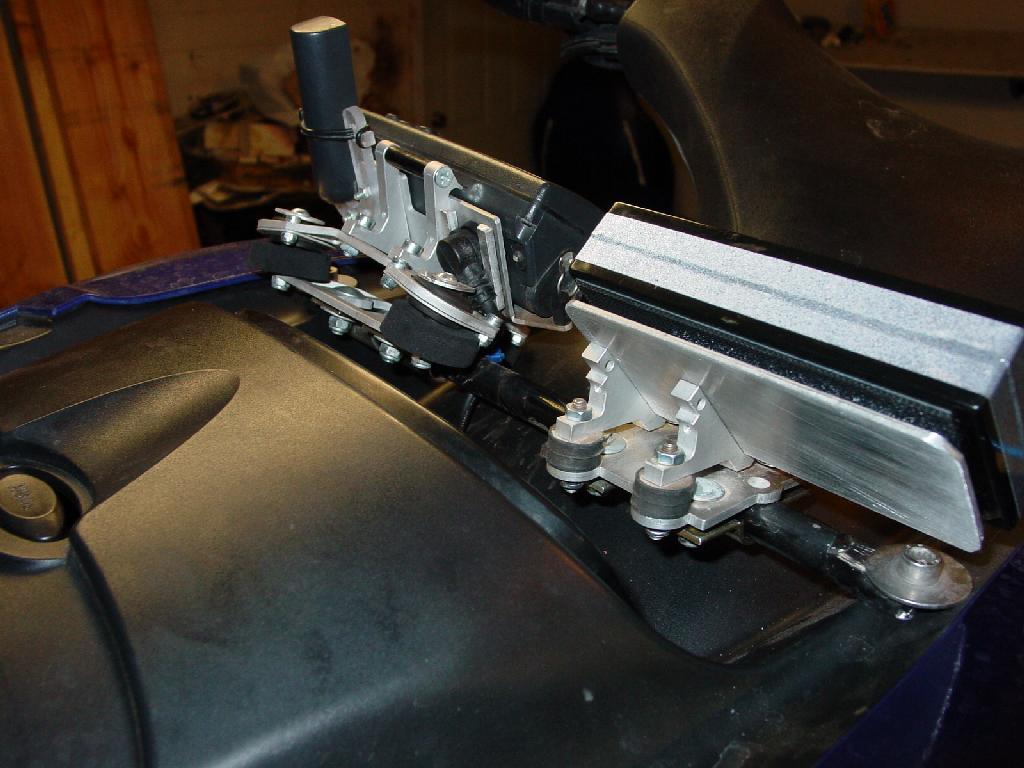
Custom cut aluminum plate was screwed to the
Tourtech Garmin 3 mount,
after removing the GPS clips from the mount itself.
Advent EGT and Tach was chosen due to it's quick response time, lower price, auto off feature, good memory, good history of customer service, and easier mounting than the previous generation EGTs.
Parts Used:
Advent T3, and Probes. I got mine
from Pro-Tec.
Tourtech GPS motorcycle mount.
www.cycoactive.com
is a USA dealer.
2.25"x4.25"x1/8" aluminum metal.
10.5" Crossbar, Banshee ATV
SST Fender Washers.
x4
SST Allen head screws. x2
SST Nylock nuts. x2
Hot/Ground Wiring, fused, with
lugs.
Power terminal block.
Zip ties.
Install time:
Guage mount: 1 hour
Wiring Block: 1 hour
Routing: 1 hour.
Drilling: 15 minutes.
Parts Hunting: Forever and a day.
| Send Email inquiries to: mer43@cox.net |
|
|
|
|